 So, you’ve never officially met my laundry room, but it’s been here all along, lurking behind that yellow door in our kitchen. It’s not very grand, but after our last laundry room located in a scary basement, it’s ultra convenient and non-scary.
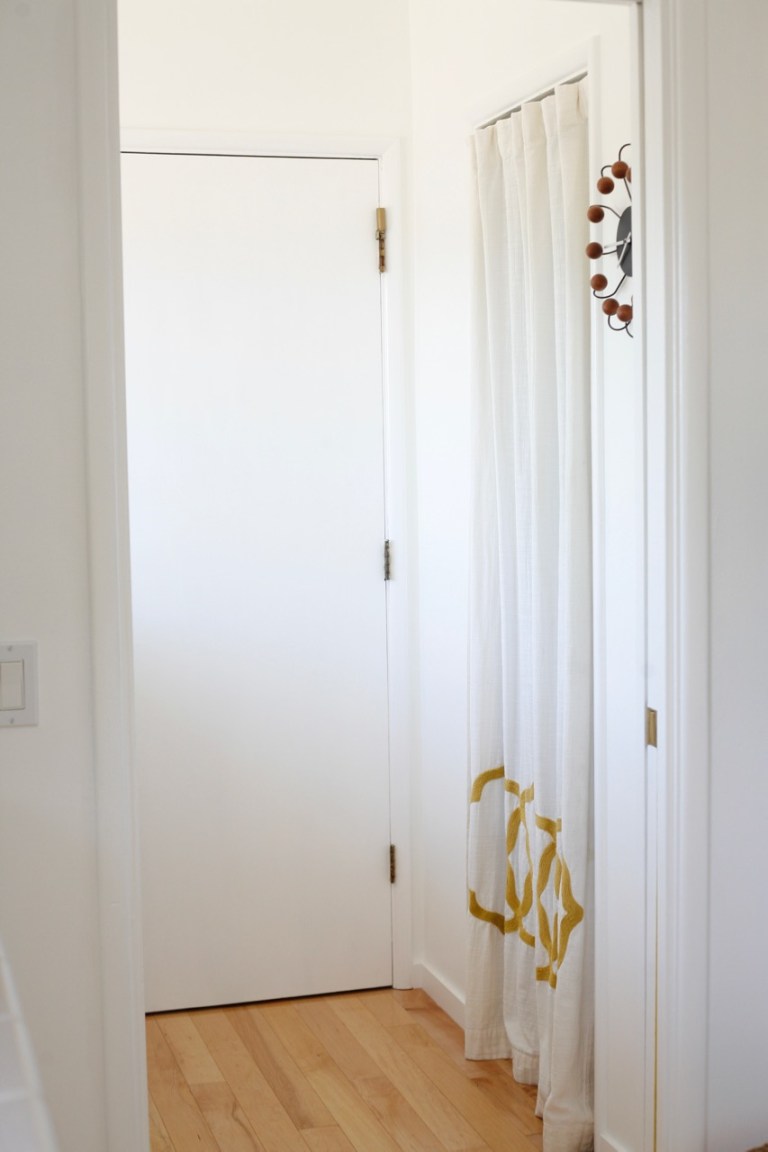
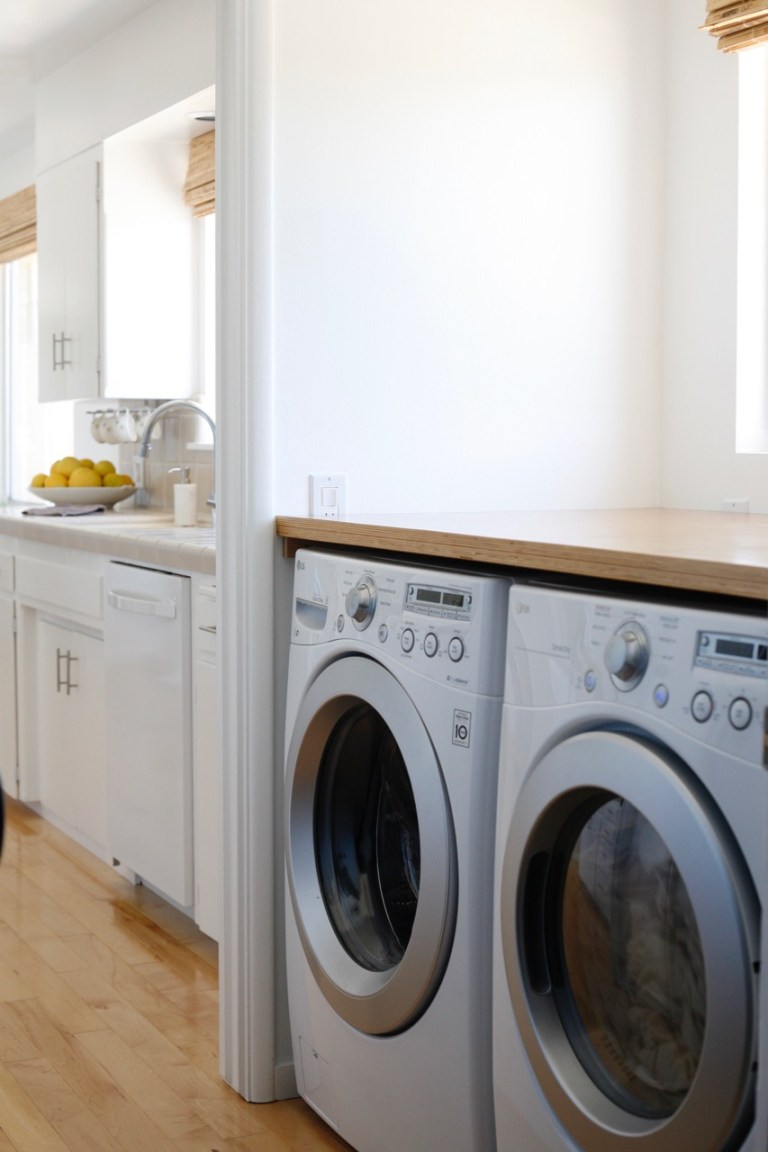
Basically the “room,” like many homes, is a small passage between the kitchen and the garage. Crammed into the nook on the left are the laundry machines and on the right, hidden behind a curtain, is a weirdly large pantry (that used to have a door but there is clearly no room for so many doors in this place).
 We tore out a bulky overhead cabinet right after we moved in to give the tight space any breathing room we could. But then I remember thinking, where am I gonna store all the laundry supplies?! (I use like 1 item, and it’s laundry detergent.) And then I remember stressing, where am I gonna store the ironing board??!! (I don’t iron.) And then, where will I rinse stains or hand wash clothes???!!!! (I do neither. And the kitchen sink is 4 feet away.) And then I remember panicking outloud, “I think we need to rip out the pantry so the space can be a dedicated laundry room.” My husband laughed in my face and told me straight how little space we need for laundry and how useful pantry/kitchen storage is. Thanks, man. YOU. WERE. RIGHT.
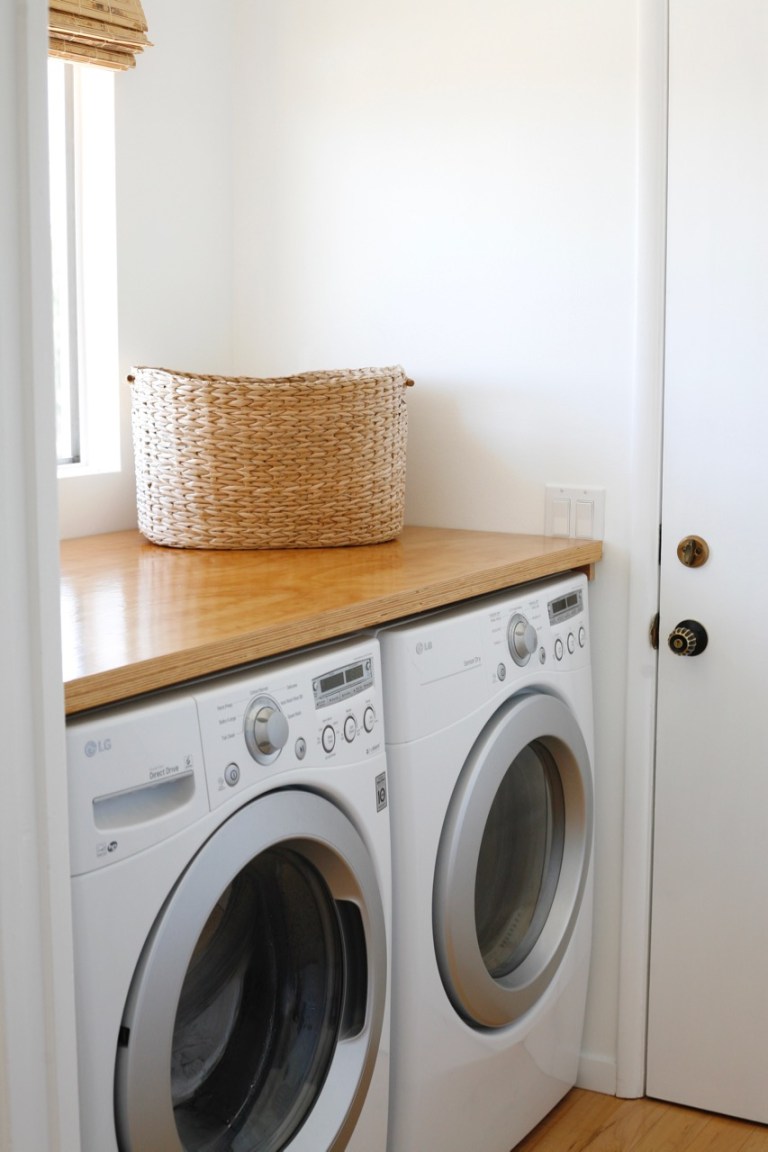
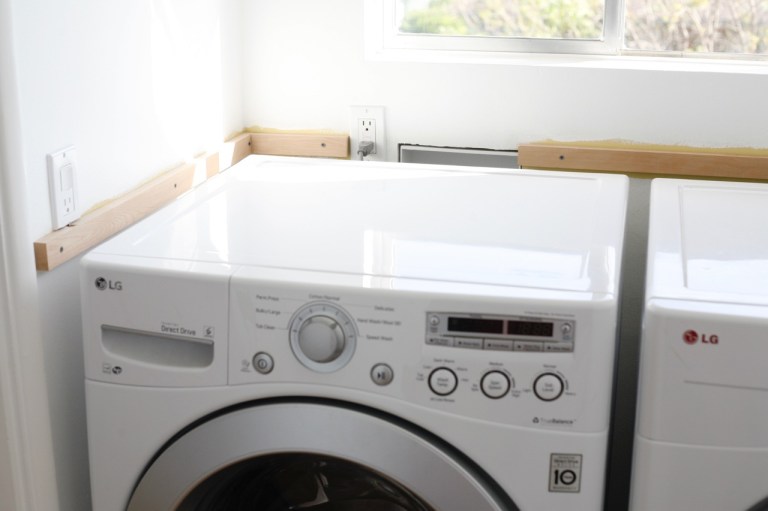
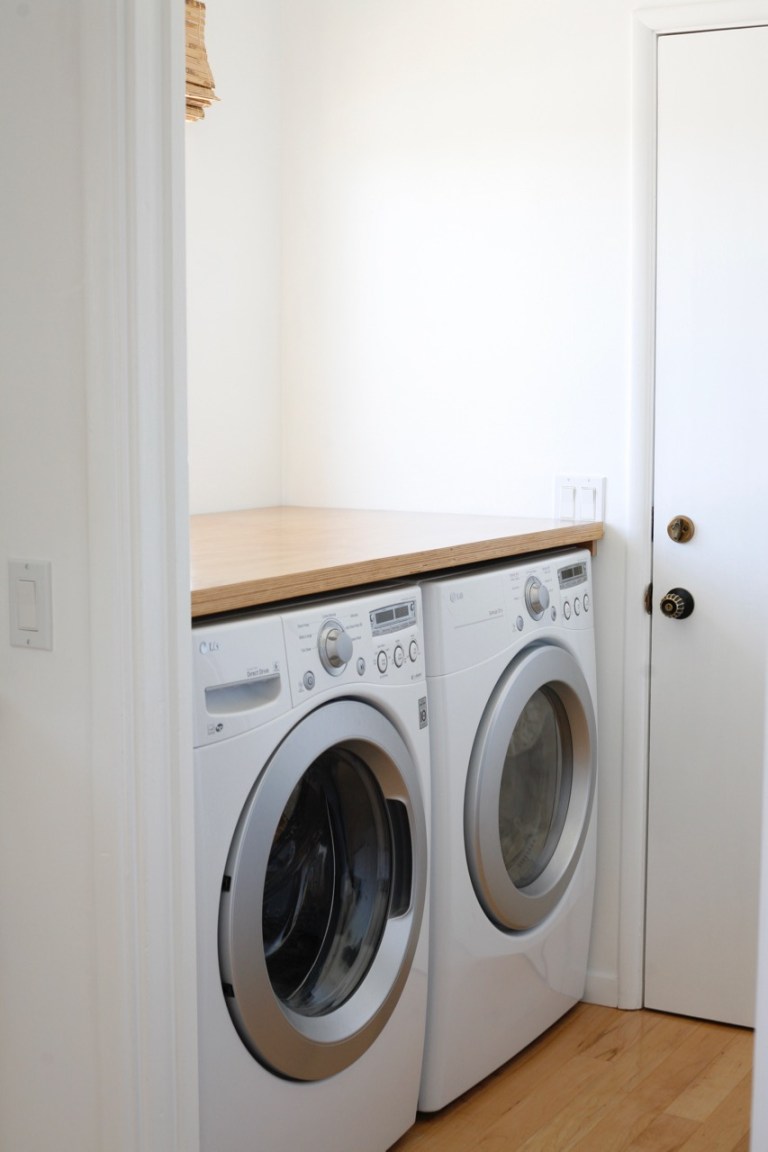
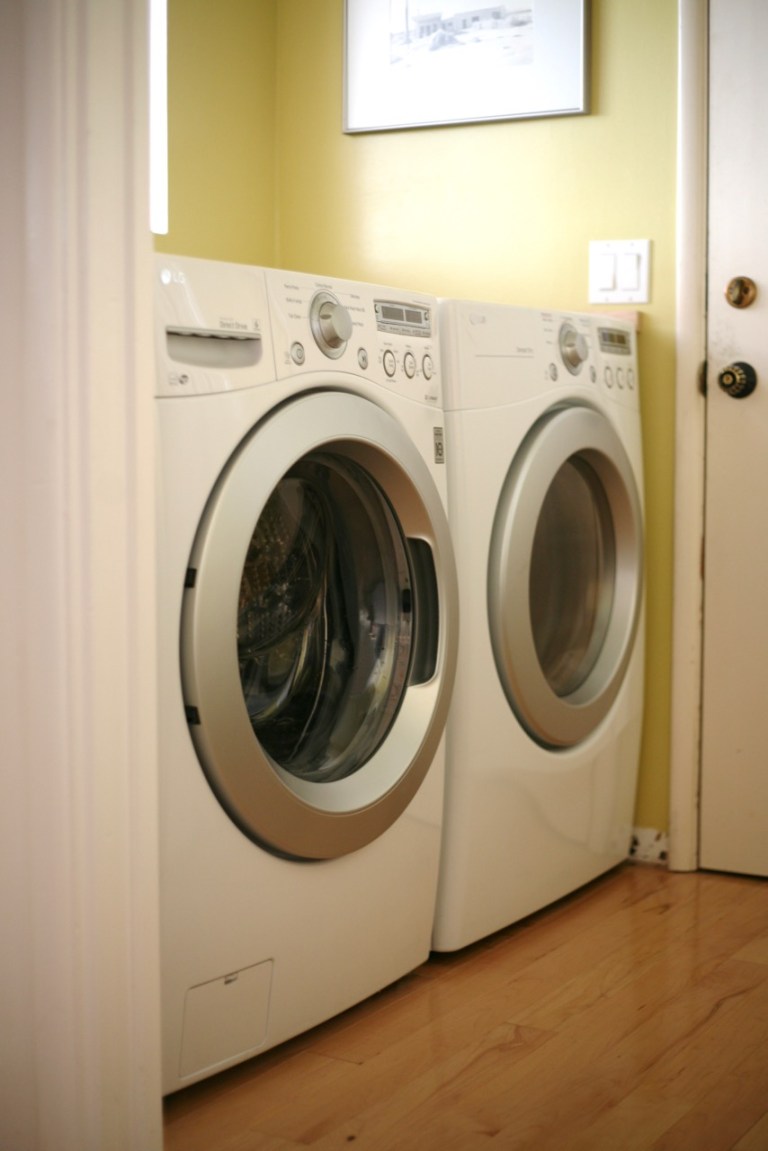
But the one thing that could actually improve my slacker laundry life was a surface, any surface, for folding. Which, fine, actually means piling up the clean load that I’m avoiding folding until I’ve piled up so many clean loads that I am forced to carry the entire stack to the bedroom where I continue to avoid them for 5-7 days. The house came with an older dryer and top load washer. We eventually replaced those as they broke with HE front loaders, leaving an obvious spot on top for a counter.
So of course we made the standard cheap-person move and plywooded that thing out! There are so many DIY counters out there ranging from super easy (place a piece of wood on your machines) to quiet elaborate. We landed somewhere in the middle. My husband took on its construction, gluing two pieces of cheap maple plywood together for bulk and strength, and then cutting them to fit between our walls. He screwed a frame into the walls for the counter to rest on. We aren’t permanently attaching the counter to the frame to give us easy access to the back of the machines should we need it. (Excuse the mid-project wall color change, I’ll explain in a bit…)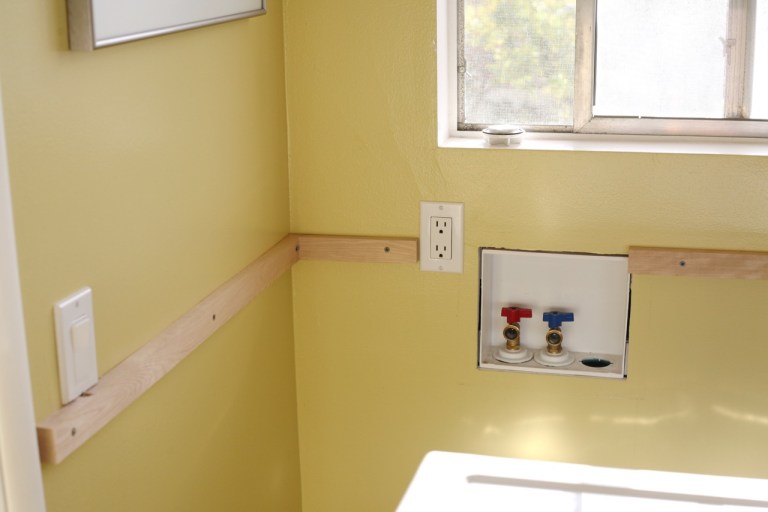

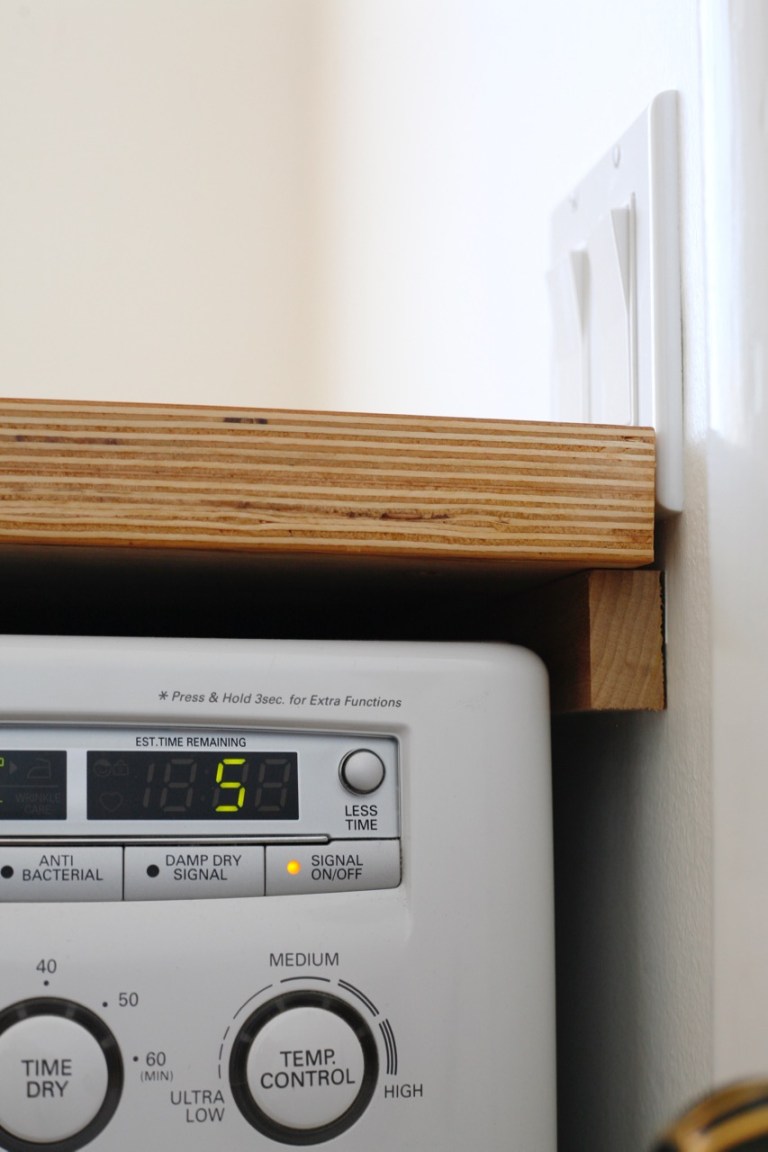 A common problem with this cheapo counter move is outlet box obstacles. Thankfully, our laundry outlet box was low enough already that it didn’t need to be moved, though we did have to remove the trim around it.
Our regular outlets, on the other hand, were a problem. Complete obstacles all around. One on each wall, right at the height we wanted the counter (but somehow all 3 at different heights?). Ugh. Initial thought was to move them all higher than universal standard height. But the more we procrastinated with that electrical can of worms, the more we wondered if we would regret moving them in the future. This counter isn’t permanent and having oddly high outlets and switches may not be something we want in the future. We decided the easiest path would be to route around the outlets and be OK with not having access to a plug in here for now – especially since I’m not even tall enough to reach the back outlet unassisted! (HOW WILL I IRON?!)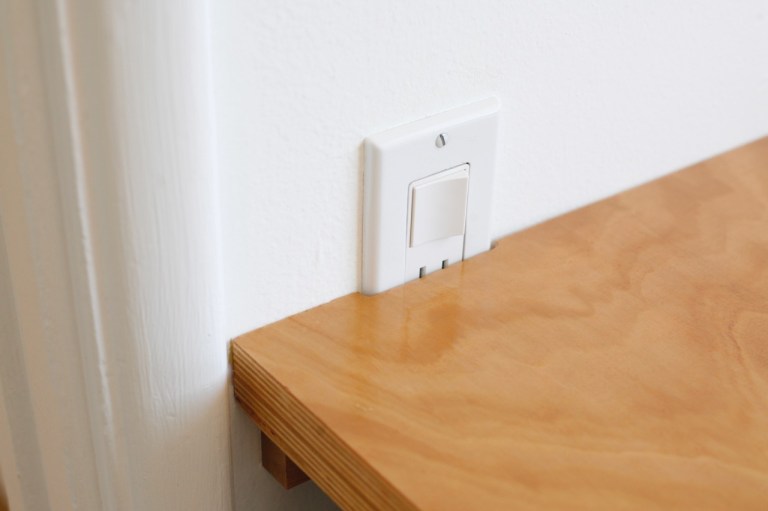
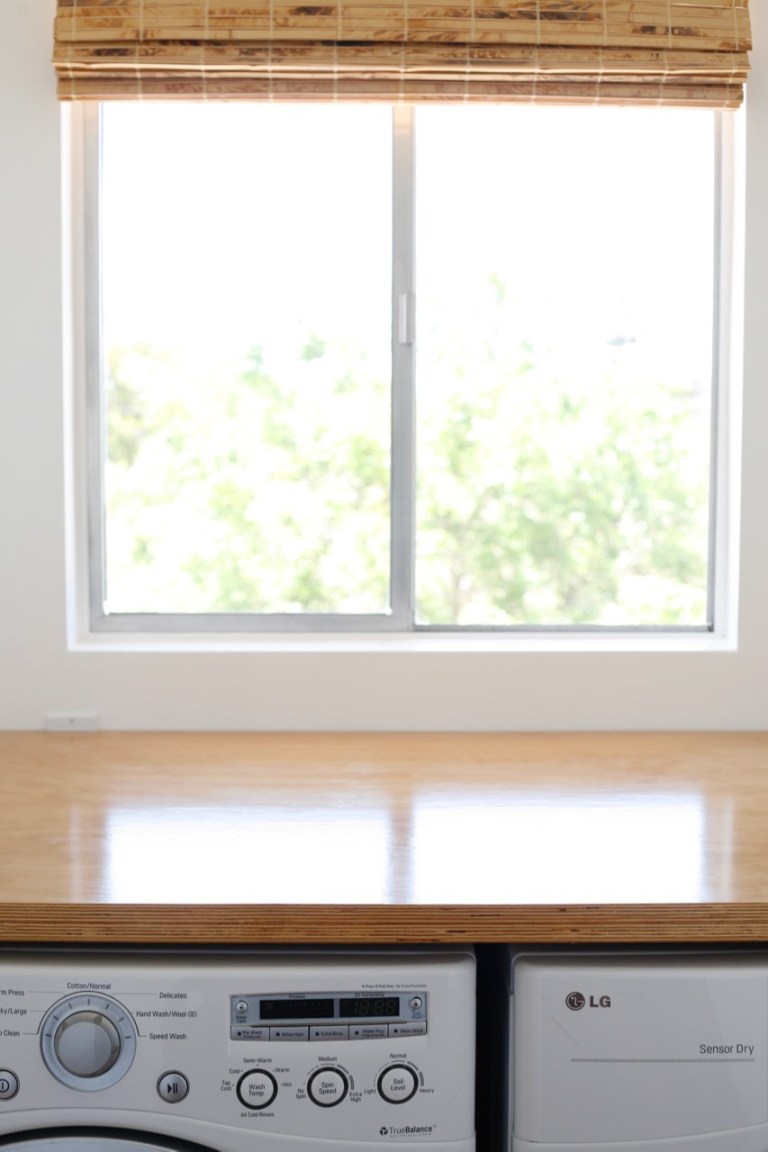
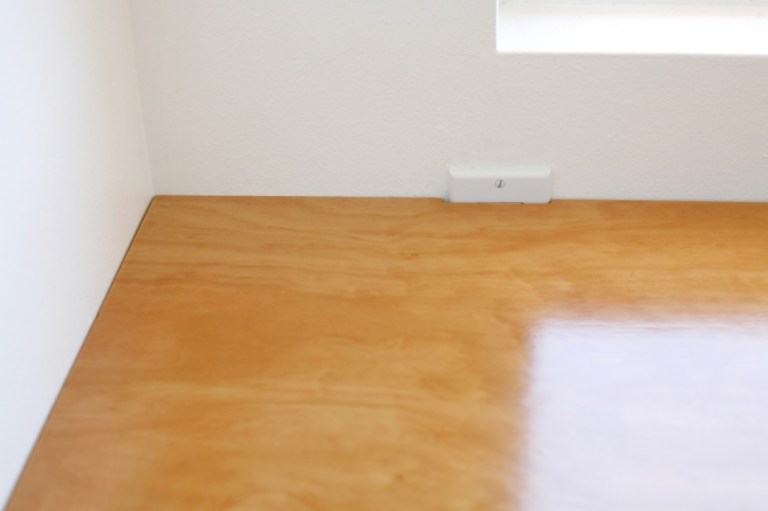 So the next thing that happened was the counter sat in our laundry room, unfinished for like two years because that’s how we do things in our home. The raw wood tone was so pretty, but use was starting to show and we were way past due putting on a finish to seal it. (Above shots are post finish, below shows pre-finish wood.)
 A few months ago, a plumbing issue flooded our laundry room and forced us to revisit the project when we had to move everything out to fix the floors. We took the opportunity to finally put a finish on the wood counter!
We brushed on four coats of glossy polyurethane (we used this one), sanding between coats, which turned the soft, muted raw wood a brighter, shiny, golden hue. The stuff has a strong smell so we let it mellow out and cure in our garage for a few weeks before brining it back inside. The finish has been super durable and I feel a lot more freedom to really work the surface without fear of scratching it.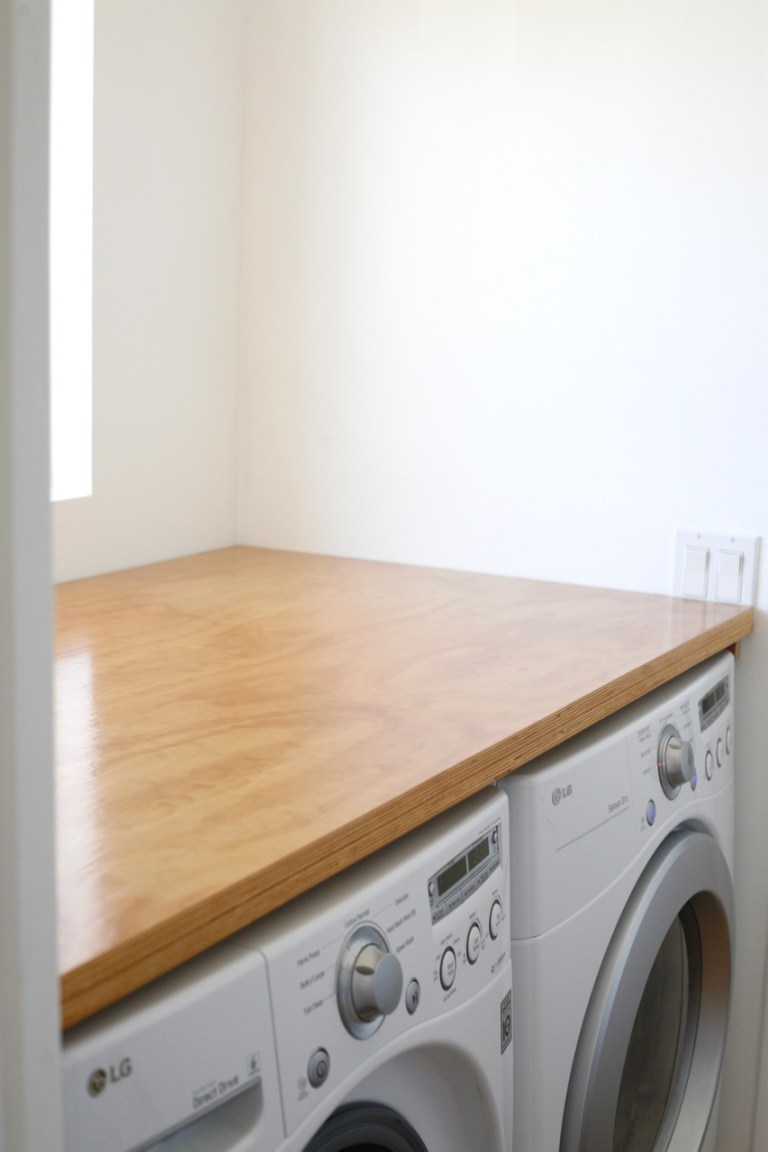

 The wall color change: In between poly coats, I decided to put a few coats of paint on the walls as well. It was quickly becoming apparent that the golden color of the wood finish was NOT going to complement our previous acid yellow walls at all. It was the right move for sure. As a bonus, the white dramatically brightened up and opened up the space, and really made the flow from laundry to kitchen so much smoother.
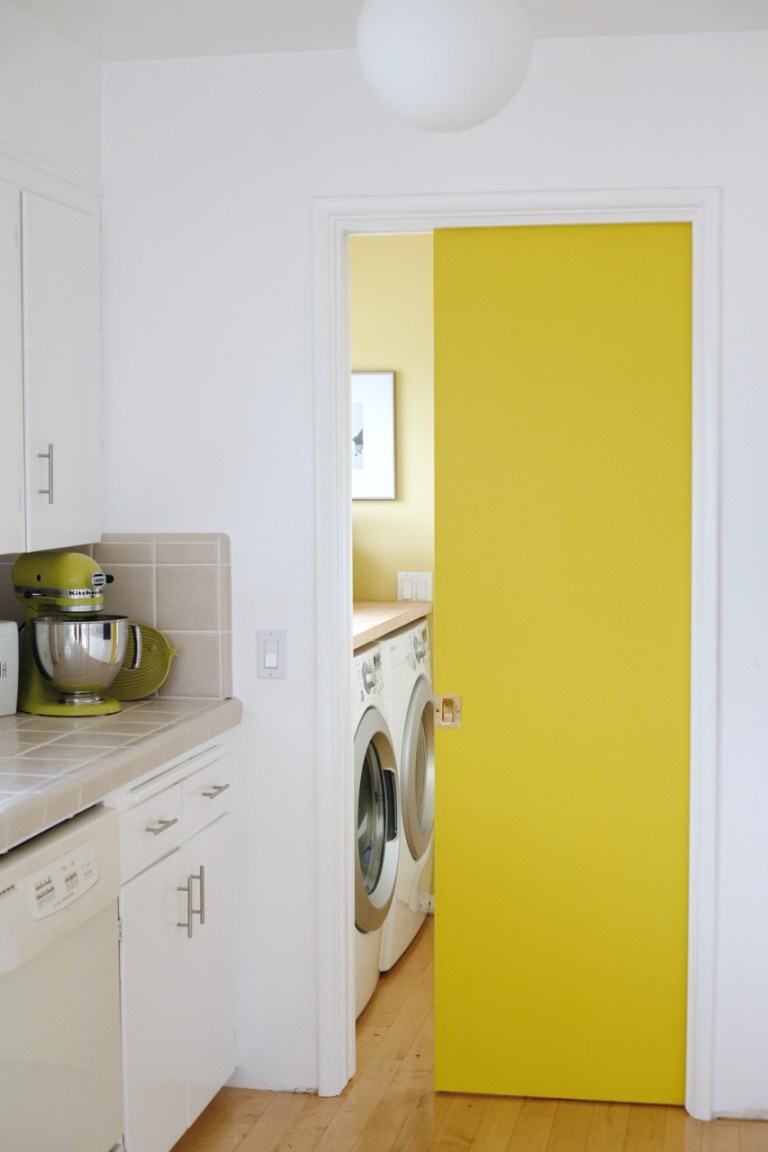 A little before/in-progress/after action:
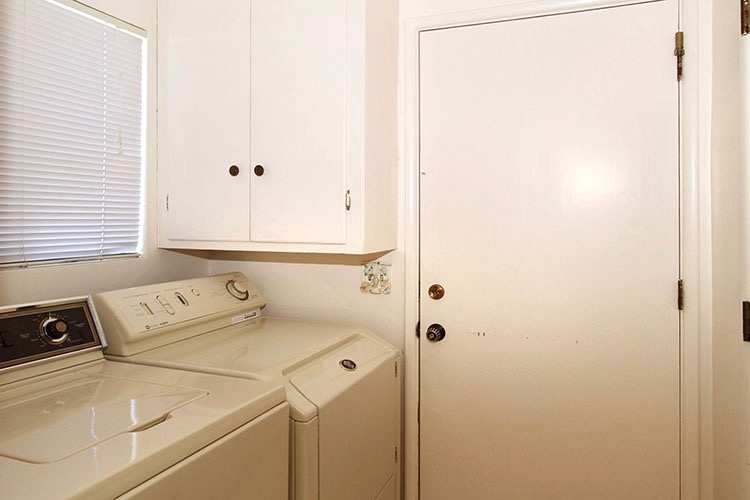
 So that leaves us here today, with a blank slate of a laundry room. I’d like to reintroduce a pop of color or pattern in here eventually, while retaining the current sun-blasted feel of the white walls. Maybe just a bright tiled wall or all-over subtle wallpaper (this one?) or crazy colorful light (this one – in yellow!).
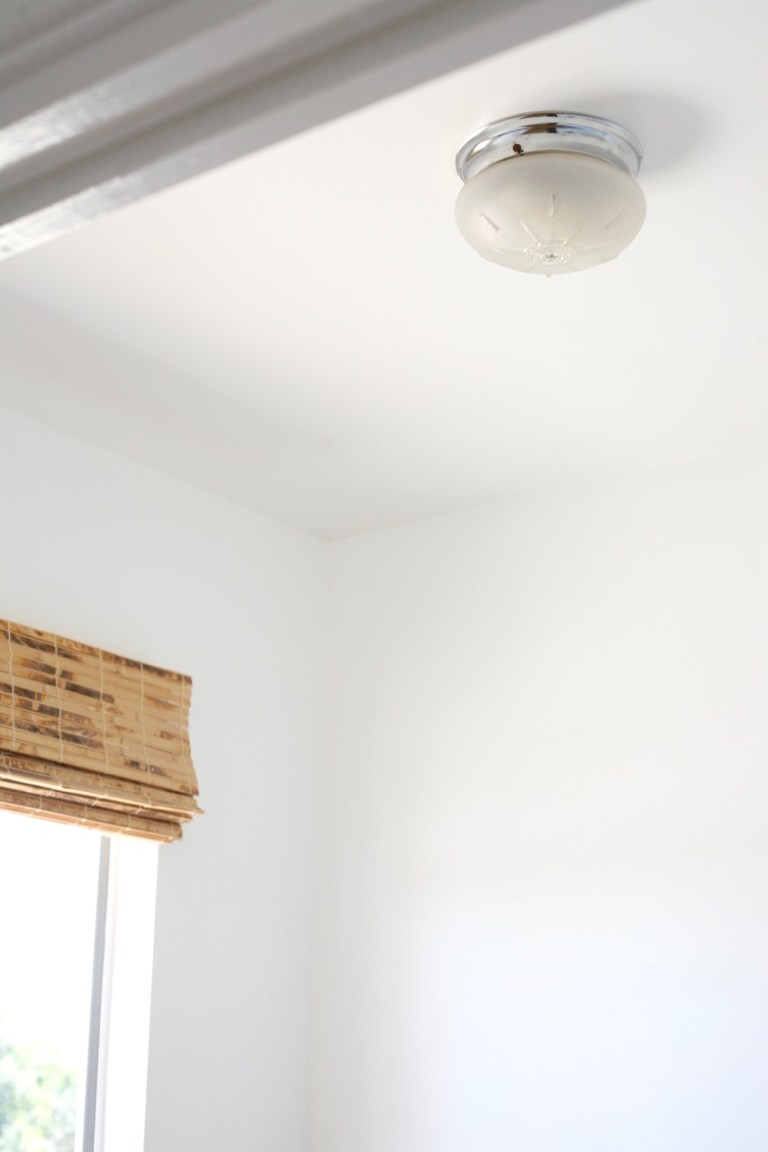 I’m hesitant to make any serious commitments until after we make some decisions on the adjacent kitchen backsplash though. For the time being, I am loving the cheerful and bright white/wood vibe!

Very nice, the result is awesome! The white paint definitely brightens up the whole thing :)
LikeLike
Thank you very much! I’m loving the bright white walls :)
LikeLiked by 1 person