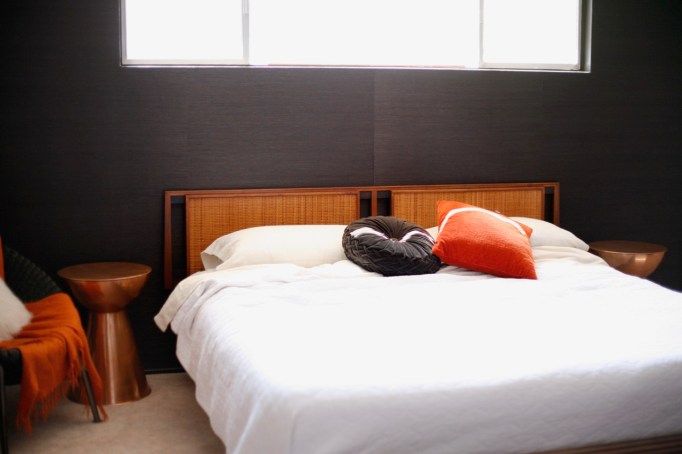
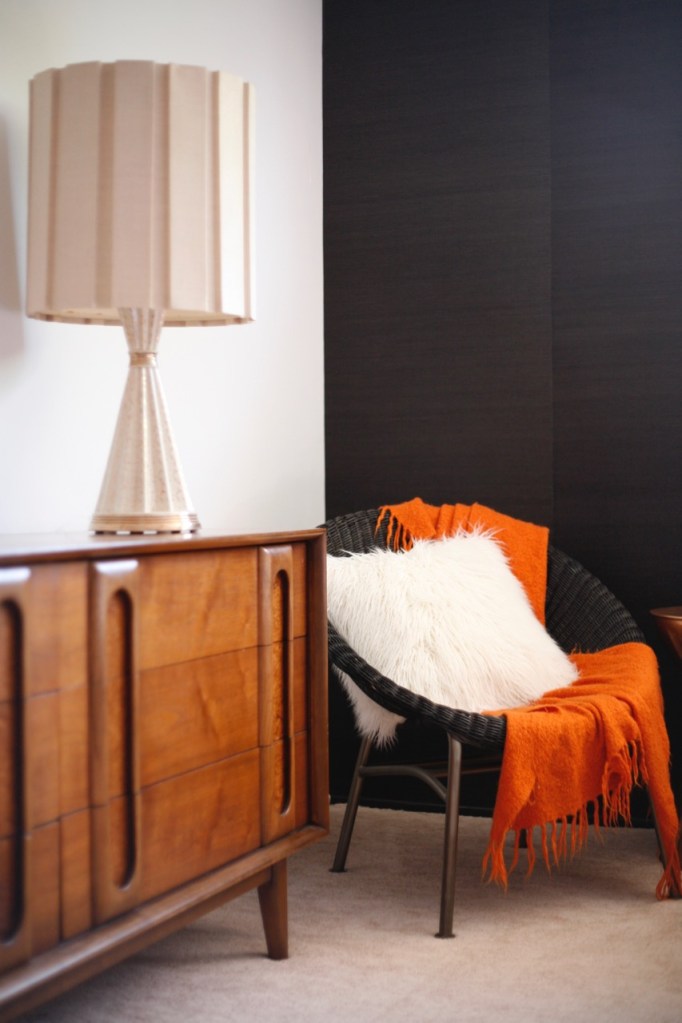
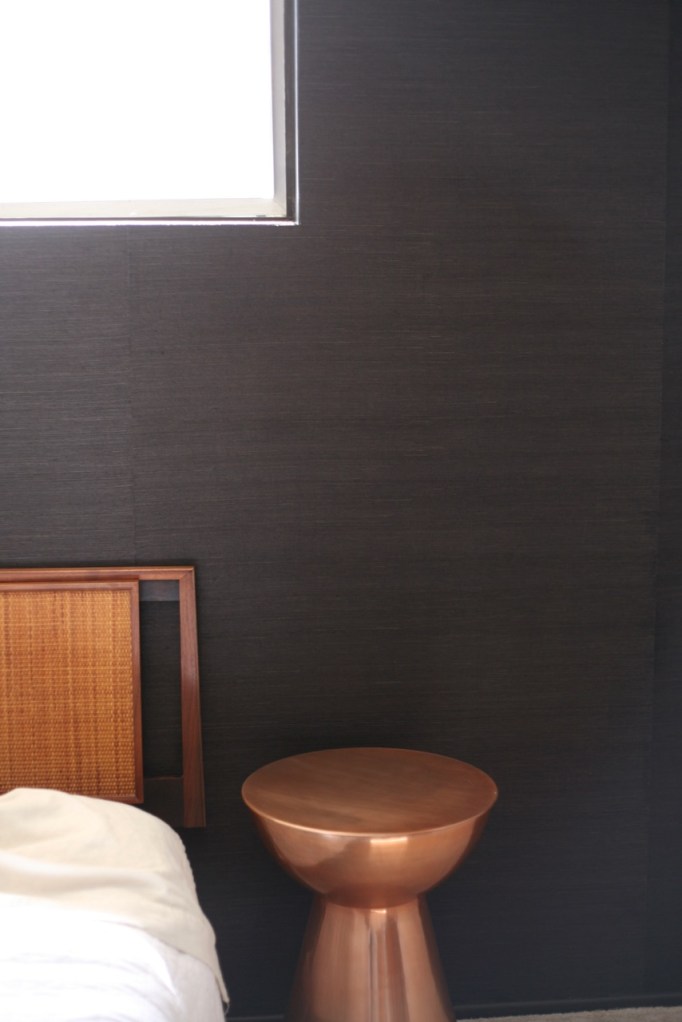
 Guess what I did this past week?? Bedroom wallpaper! It was of the few things I was sure I wanted in our house before we moved in like 5 years ago. The grasscloth has added depth and texture that the room was missing.
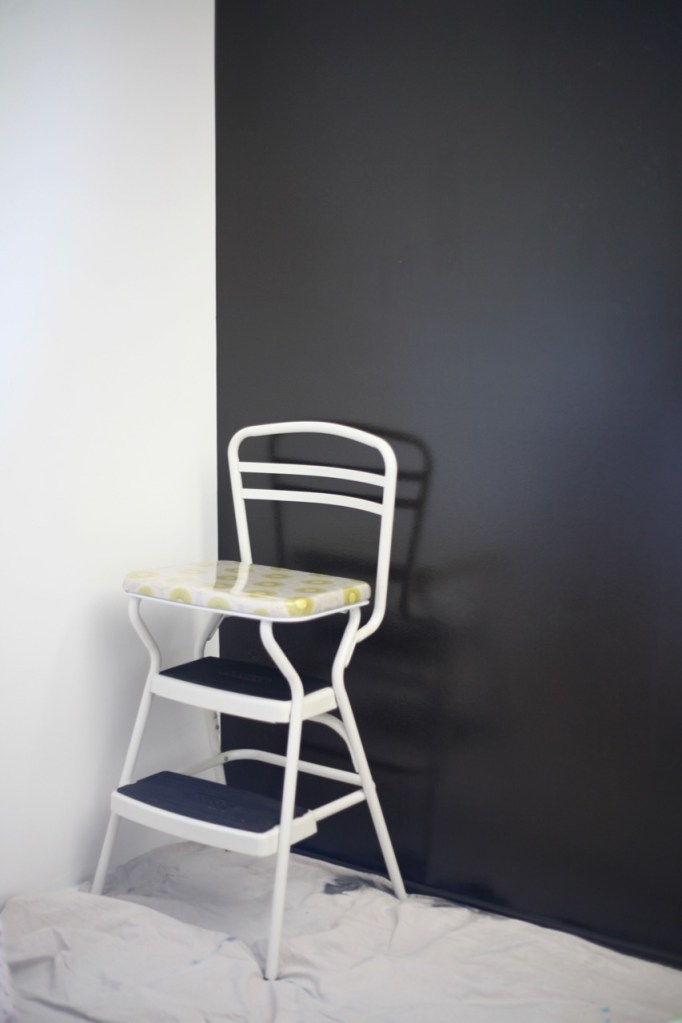
The wallpaper is actually from York’s Magnolia Home line. I never thought Joanna Gaines and her shiplap empire would come near me or my house, but this black sisal wallpaper was a steal. Sisal falls in the broad “grasscloth” wallpaper category (sisal is a type of grass), though the fibers are generally smaller than traditional chunky grasscloth resulting in a tighter weave.
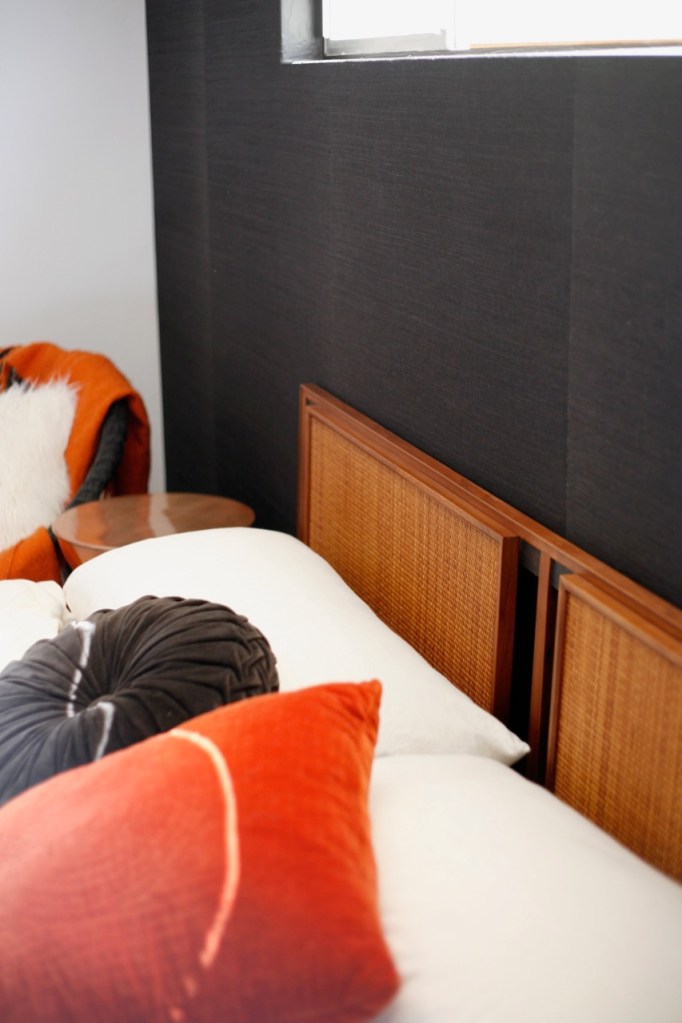
This wallpaper looks charcoal and highly “paneled” in some of these blown-out photos, but the color in real life is a beautiful true black and was very consistent throughout rolls. The only other black natural fiber wallpapers I could find were in the hundreds of dollars per roll price. I think I bought this for around $75/roll last spring. Looks like the price has increased during that time, but it’s still substantially cheaper than anything else I could find.
The great price comes with some downsides. It was not as thick or as sturdy as my previous grasscloth hanging experience in the dining room, which I think was a Brewster wallcovering, making this more difficult to work with. Even worse, the black dye rubbed off all over my fingers from just handling the paper dry. Add wet glue to that and it was a mess! The walls, my hands, my clothes, everything it touched was stained. Ugh. Not surprisingly, I got a few areas of blotchy dye bleed along the edges of the paper. It’s so dark that you can’t really see in person and it’s hard to photograph, but you can kind of see what I mean in some of these photos. If you are a perfectionist, grasscloth in general isn’t for you and definitely not this one! But in my case, the cost savings was worth these imperfections and hassles. Thanks Joanna for nothing and everything.
I talk priming for wallpaper and DIY wallpaper supplies further down in this post, so skip down if you are here for that!


 WALLPAPER SUPPLIES
My previous post on hanging grasscloth gives a general overview of the process, but I want to mention a few things about primer and other supplies because I’ve gotten a lot of questions about it lately. Wallpaper has been out of fashion for long enough that most salespeople in stores have no idea about hanging wallpaper yourself.
The supplies you need are:
- your wallpaper
- wallpaper paste if your wallpaper is not pre-pasted (grasscloths never are because pre-pasted wallpaper is soaked in a tub of water to activate the glue and you can’t soak natural fibers like that)…I use a universal wallpaper adhesive from Roman like this one
- a smoothing tool
- many SHARP razor blades (I buy a 100 pack in a dispenser because you literally need a fresh razor for every cut)
- a tape measure
- a straight edge, or better yet, a carpenter’s L-square
- PROPERLY PRIMED WALLS (see below)!

PRIMING WALLS FOR WALLPAPER:
Prepping your walls is half the work of hanging wallpaper. This include patching/filling all holes (tiny ones are OK to cover with grasscloth, other wallpapers are very unforgiving so patch it up) and priming the walls. You need to prime your wall for two reasons: 1. to give your wallpaper a strong surface to adhere to. Your wallpaper isn’t sticking to your wall, it’s sticking to the layer of whatever is directly below it. If that layer is latex paint, which most of our walls are covered in, the wallpaper paste will soften it, turning it into a mushy, weak layer that will likely fail once the weight of wallpaper is hanging on it. Which means your wallpaper might fall down. Whomp whomp. 2. Priming, supposedly – I’ve never had this luxury, makes wallpaper removal actually easy come the day you are ready for a change. If you’ve ever experienced the pain of removing old wallpaper via one million tiny tears (rips) and tears (wet stuff from your eyes), it is highly likely that the wall was not properly primed.
There are a few different one-step primer options for wallpaper. You need this primer to harden over and seal in every other layer below it so that none of them are reactivated by the paste you are about to slop on. You also ideally want it to match the color of your new wallpaper, minimizing any high contrast seam peek-a-boos. If your wallpaper is white/light, you will definitely want white primer underneath because colors and designs will show through! If your wallpaper is dark, you will likely want dark primer (or clear, see below) underneath to hide any peek-a-boo seams!
One option is a regular “universal white pigmented” primer. This stuff is white, so it’s ideal for white/light wallpaper, or it can be tinted to match your wallpaper color. I believe most universal pigmented primers need 24 hours to dry before wallpapering. I’ve had success with Zinsser’s Bullseye 123 in our dressing room.
The other option is what are referred to as “drywall repair clears,” a clear, hard primer meant to seal in messy drywall jobs. Because they are clear, they are an easy option when your wall is already painted the color of your new wallpaper…my situation! I went the DRC (drywall repair clears) route for the first time and used Zinsser Gardz on this wall. It is drippy, thin, and messy, but totally doable with a 3/8″ nap roller. It goes on a milky blue color but dries into a glossy, slightly toothy, clear. I made sure to cover nearby furniture and floors because it sprays off the roller a bit, but coverage was good and drying time quick, only 3 hours. I primed in the morning and was wallpapering by noon.
Photo below shows almost dry Gardz on the left, Gardz being applied in the middle, and unprimed latex paint on the right. The second photo show the primed wall ready for wallpaper:

 Back to our room. I’m so into it. I need to re-hang our blinds and sconces. Working up the courage to put holes in the new wallpaper will probably take a few days here. Hope your weekend is full of dream-fulfilling projects too :)
Thanks for reading! xoxo Jenny

ANY recommendations on hanging grasscloth on a stainless steel surface?
LikeLike
I have no experience with this but I might look into a stronger adhesive that works on metal..maybe even a spray adhesive? The only thing to worry about is if would stain the paper. Good luck!
LikeLike
Used STYX from Benjamin Moore and worked like a charm. Didn’t stain or anything. Its beautiful! Thanks
LikeLike
Yay!!!
LikeLike