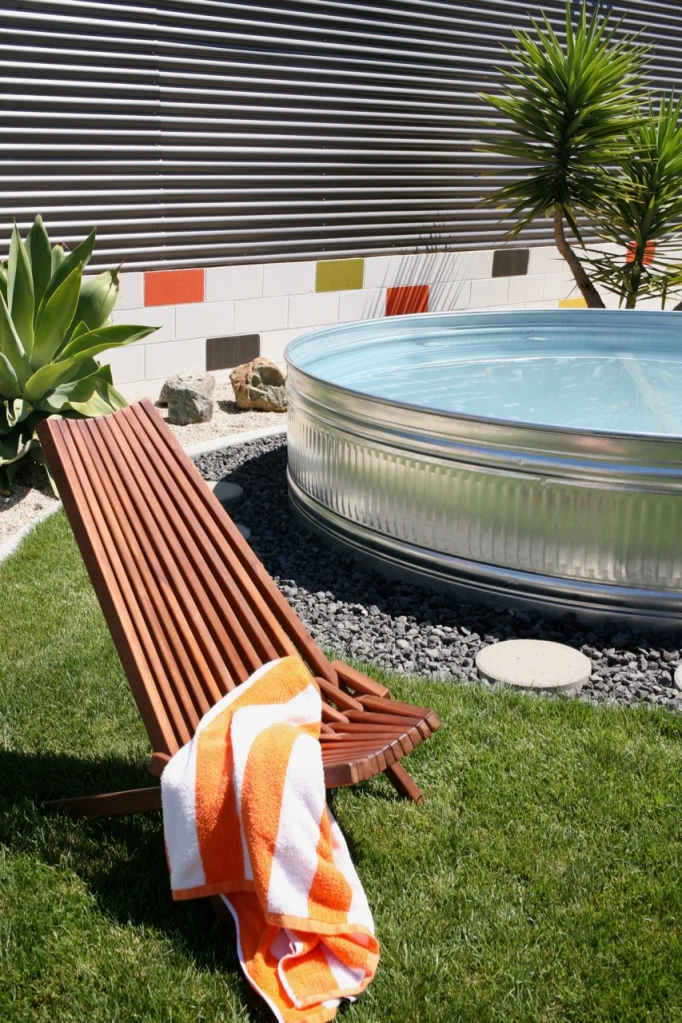
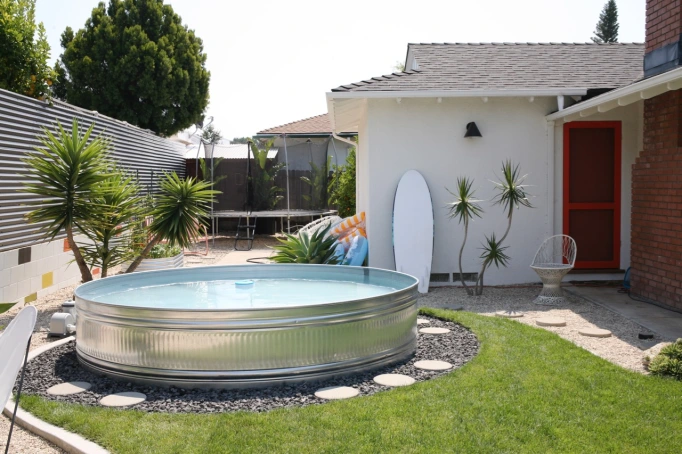
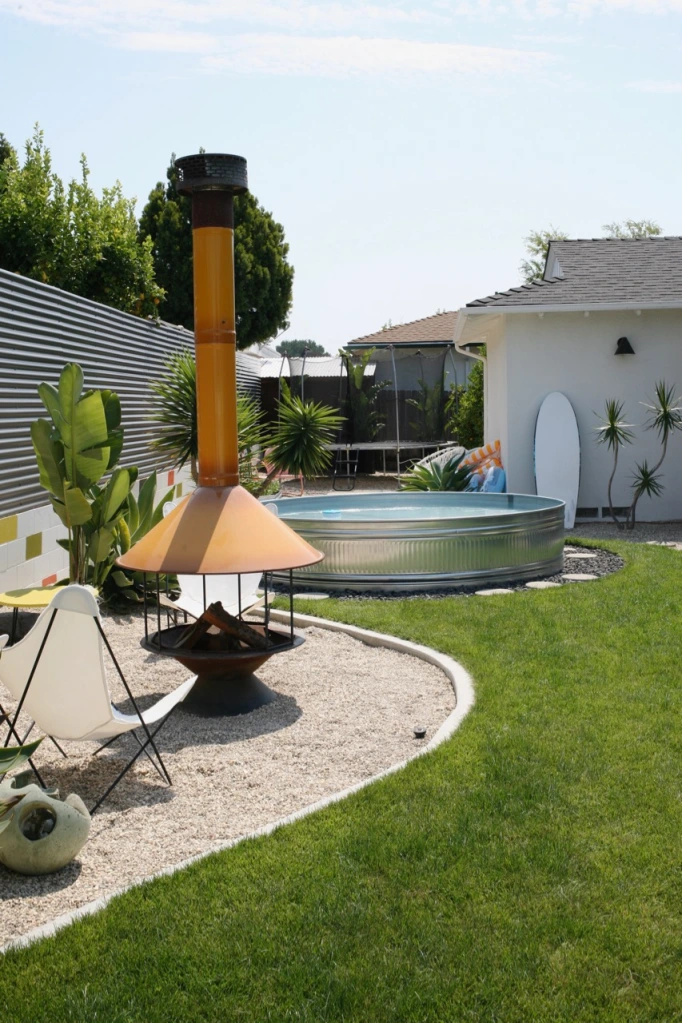
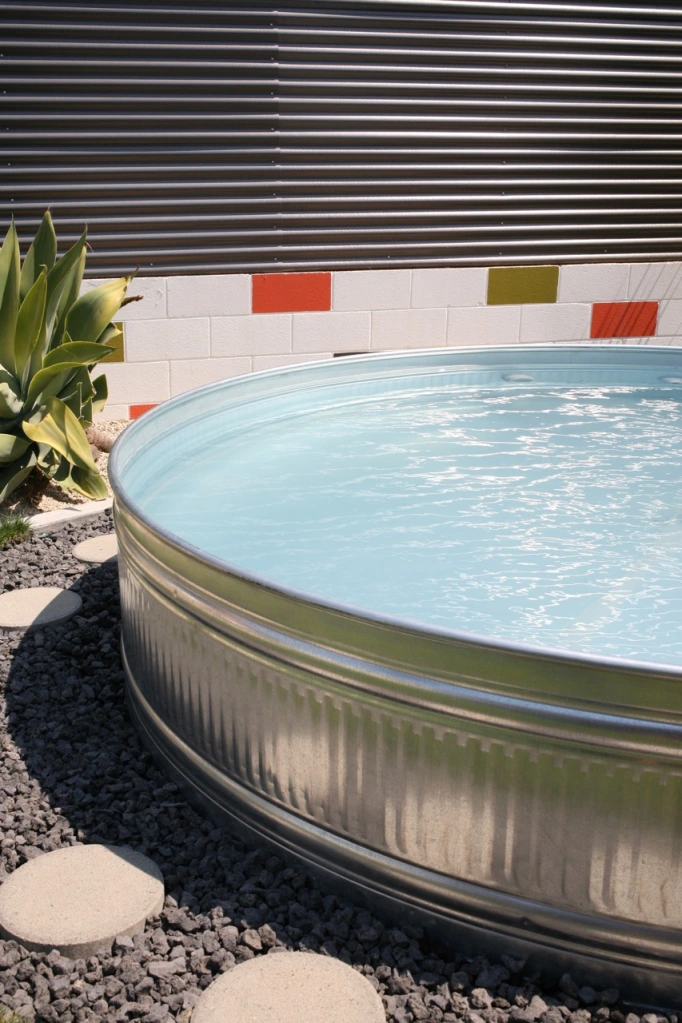
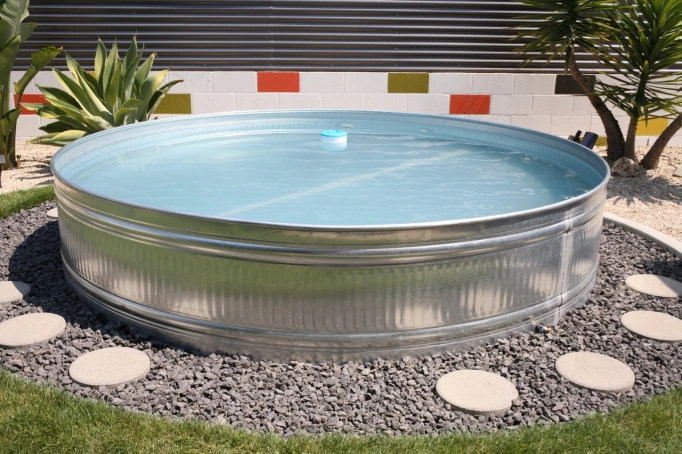
 The stock tank that was scheduled for May finally arrived a few weeks ago and we are now pool people!! It took a lot of persistence to make it happen with general above ground pool supply shortages, but I think it will go down as the bright spot of a hard year. A pool – of any kind – is a dream come true. For so long, I envisioned a cocktail pool/spool/plunge pool/whatever weird name you want to call it for this curvy part of our backyard. A small, shallow, round body of water to call my own. But the tens of thousands of dollars part was a major deterrent and so was the clunkiness of more affordable above ground pools. All told, we spent just shy of $1k on this beast and I think it was worth every penny given the joy it is bringing us. It’s big enough to float in but not obtrusively tall or aesthetically hideous. A giant tuna can might not be the right look for every space, but in our yard that corrugated metal works! If you have young(er) kids: totally worth it. If you have no kids but want to adult float regularly: totally worth it. If you have always wanted a pool: totally worth it. I have zero regrets, even if we only get a few years out of it.
Quick backyard project links: backyard lawn | fence and painted cinderblock wall | concrete curbs | patio
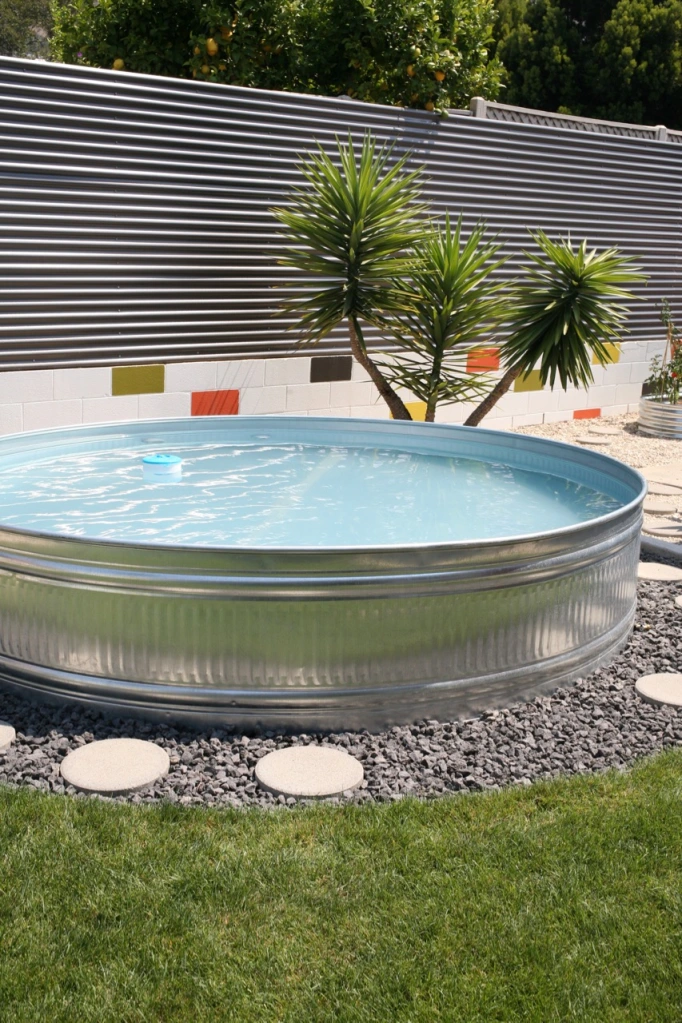 I’m going to share all about how we got ours up and running. I’ll include our supply list (probably the biggest hurdle right now with many items out of stock), installation steps, maintenance routine, some troubleshooting tips, and why we’ve decided not to paint or seal our stock tank. But my original inspiration for this project was the OG stock tank pool as far as I’m concerned (and one of the best blogs ever): The Brick House. I also found a lot of helpful information and inspiration from The Joshua Tree House and Sunwoven, so be sure to check out their installs as well! Here we go (photos first, info next)…
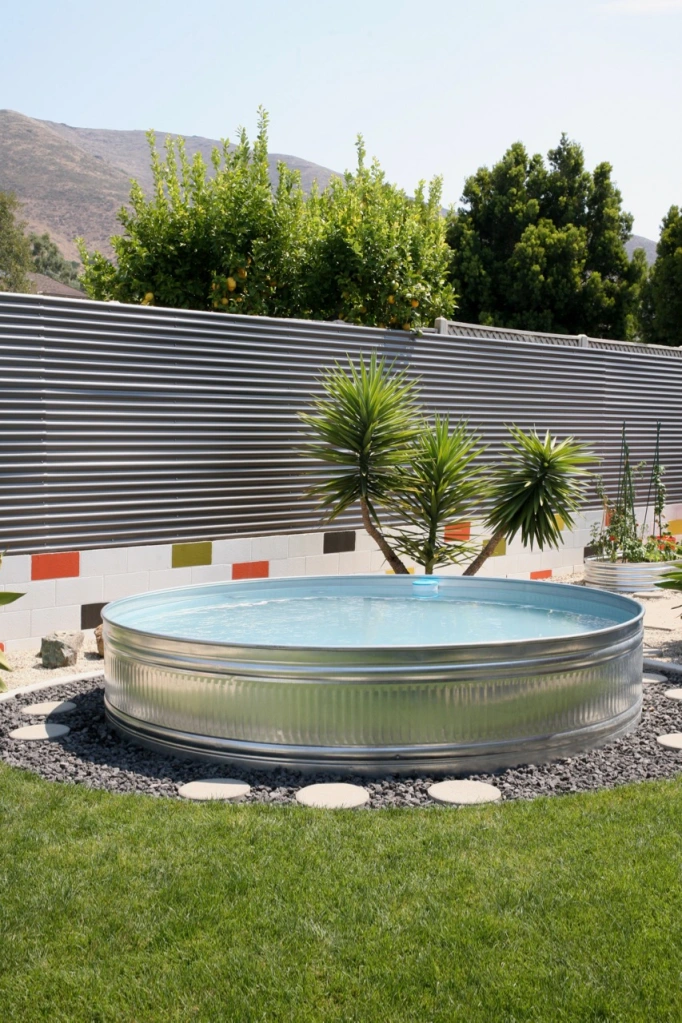
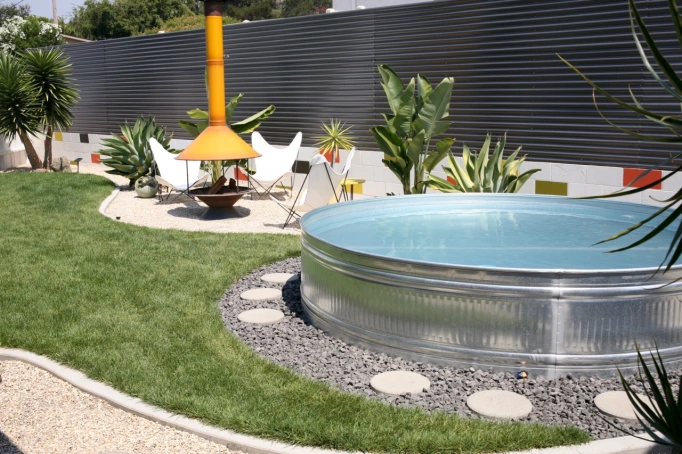
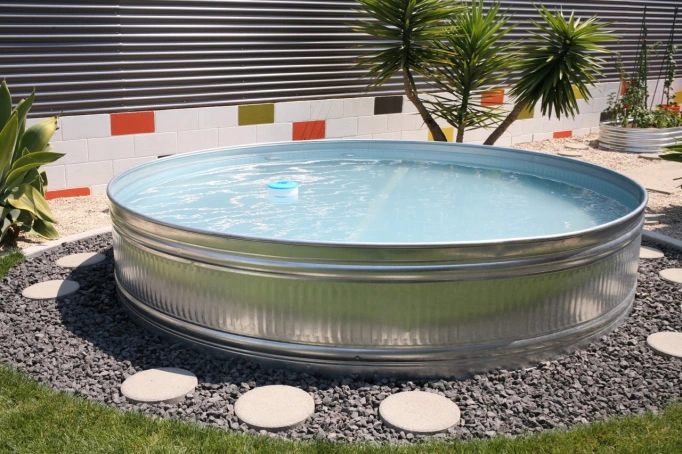
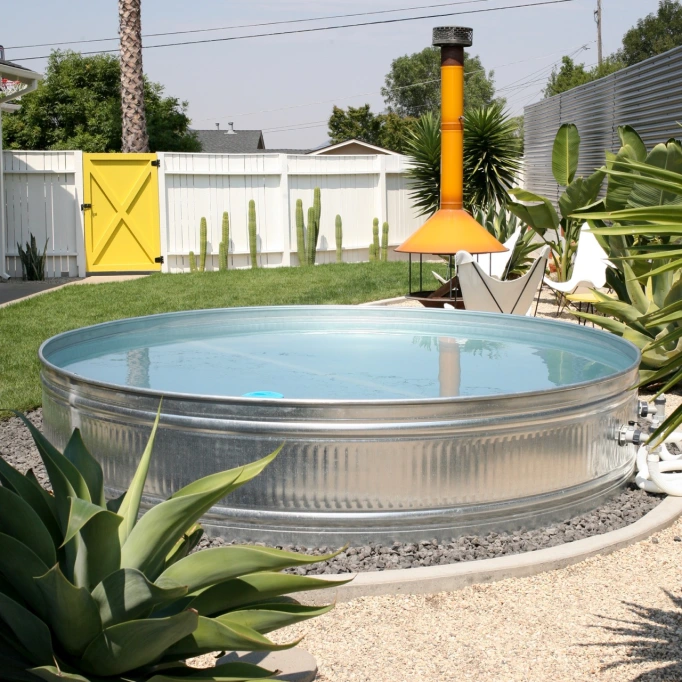 Still working on cleaning up this view of our sideyard :)
SUPPLIES:
*a note on supplies: so much is either out of stock or overpriced at the moment due to overwhelming demand for above ground pools. I’ll share a few workarounds that we used, but expect challenges, especially finding stock tanks, which are widely backordered.
stock tank – come in a variety of sizes, all 2′ deep. 6′ or 8′ can usually be found at Tractor Supply but we special ordered a 10′ Behlen stock tank (1100 gallons) through a local chain on CA’s Central Coast, Farm Supply (2021 UPDATE: I’ve seen some in stock recently at our local location). It took several months for manufacturing and delivery from Oregon. I highly recommend a 10′ over a 8′ if you can find one. For reference, our 10′ stock tank was $530 + tax + $60 delivery + tip to carry it into our yard.
optional ball valve – to replace drain plug
pump – we went with a cheaper Intex filter pump instead of a salt or sand filtration system. Salt is not recommended because it causes metal to rust, or rust faster. Sand pumps are more expensive, but you only have to change the sand every few years instead of every few months like the filter cartridges. This pump comes with a built-in timer, one filter, hoses, and an inlet jet. You’ll need to gather an outlet (strainer) and plunger valves separately, below…
large strainer (or here) – this is the outlet part of the pump system and finding one is going to jam you up! It was hard to come by before Covid, nearly impossible now. People are making a killing selling used ones for massive markups on ebay. (And beware of Intex jet replacement kits like this that appear to include a large strainer, but actually include 2 small strainers instead – Intex’s newer way of filtering their smaller above ground pools.) Our work around was to gather the 4 parts that make up a strainer separately from Intex and hope they worked together (they did!):
- strainer grid #10253
- strainer connector #10744
- strainer nut #10256 – this is ridiculous but these were nowhere to be found when we needed one so we just bought an entire replacement Intex inlet jet on ebay for the nut (and washer). Overpaid, but the cheapest path we found at the time.
- strainer washer #10255 – or on amazon
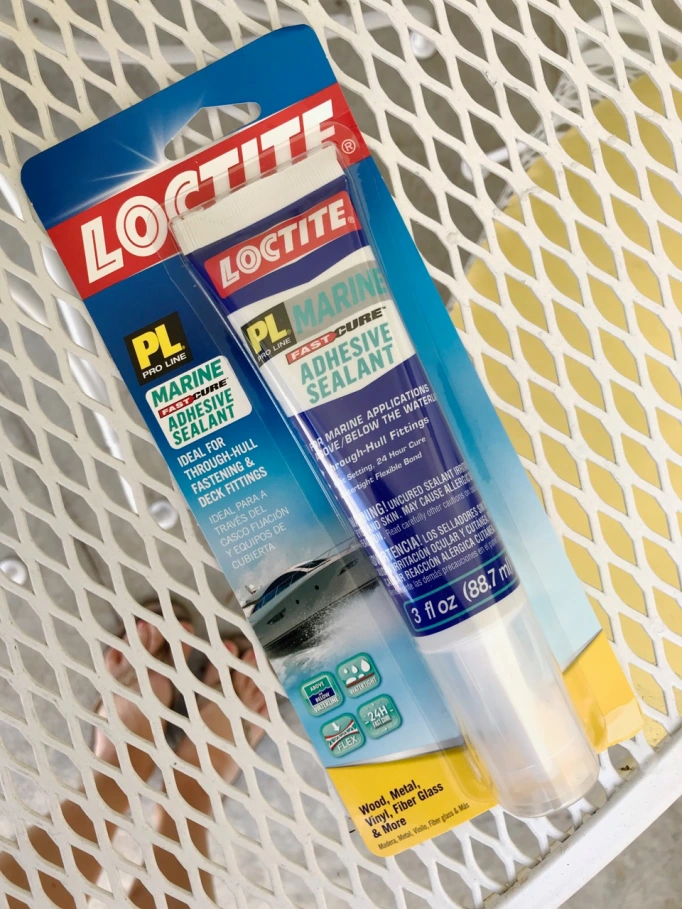
Loctite Marine sealant or another underwater caulk/sealant
pump filter cartridges – Type A. One comes with the pump, but good to order extra now because they are backordered
pool skimmer or Intex Cleaning Kit
optional/accessories:
solar cover – we’re experimenting with a DIY solar heating system at the moment, but this will be our fallback to raise temp 10 degrees when needed. 2021 UPDATE: DIY solar heating system failed (and so did propane heater, below) but we bought this solar ring instead and love it! It does a great job adding heat, trapping heat, and it never blows away – but FYI it needs sunny skies to really work!
propane water heater and pump (or cheaper pump) – 2021 UPDATE: We bought this heater October 2020 hoping to reach hot tub temps over the winter, and it was a failure. It took nearly an entire propane tank and 8 hours to raise our water 20 degrees on days where water temps started in the 50s and outside air temps got up to the high 60s – the heated water was still uncomfortably cold and far from our 100 degree plus goal. At this point, I think it is physically impossible to heat an uninsulated 10′ pool up to hot tub levels, though other people seem to have success heating 8′ pools with this method. We’ve given up on ever having hot water in our 10 footer and, though this heater could provide a (pricey) 20 degree bump on chilly water days, that wasn’t something we wanted to spend money on especially when above solar ring works so well, so we sold ours on Craigslist. A note on the pumps: we tried 5 different pumps and could never get up to the heater’s stated gallons per minute. Of all the pumps we tried, this one was really quiet and got us the best flow at 1.5 gallons/minute, but this tiny pump is an excellent value and put out 1 gallon per minute.
pool floats – we are loving these
orange cabana towels – for pretending you are on vacation…I bought 2 packs so the illusion is never shattered :)
INSTALLATION STEPS:
- Find a level spot in your yard with a GFCI outlet close by and then make it even more level.
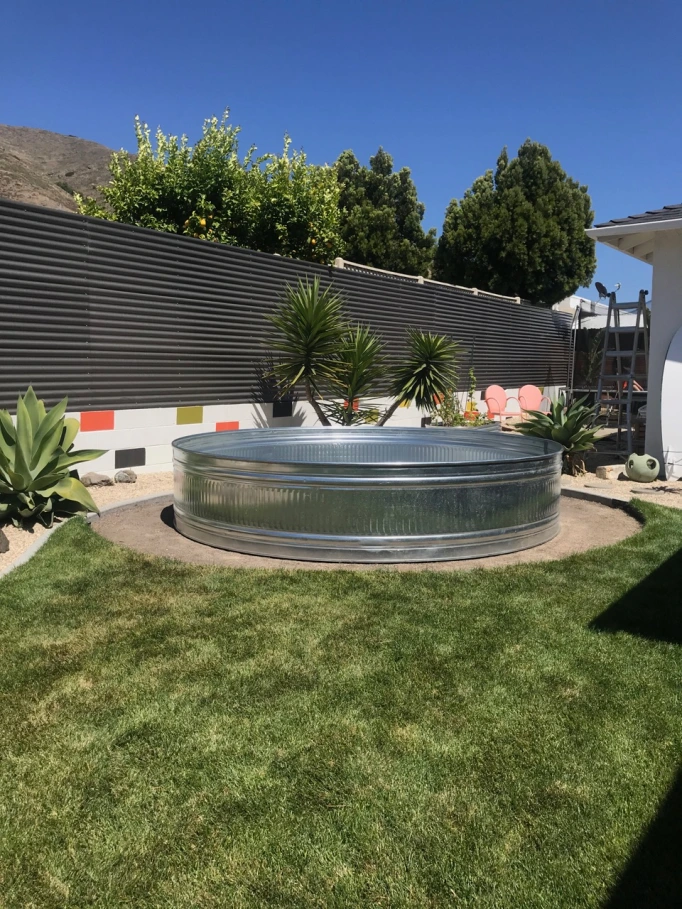
- Clean the pool and remove the decal – ours peeled off easily.
- Optional: replace the drain plug with a valve.
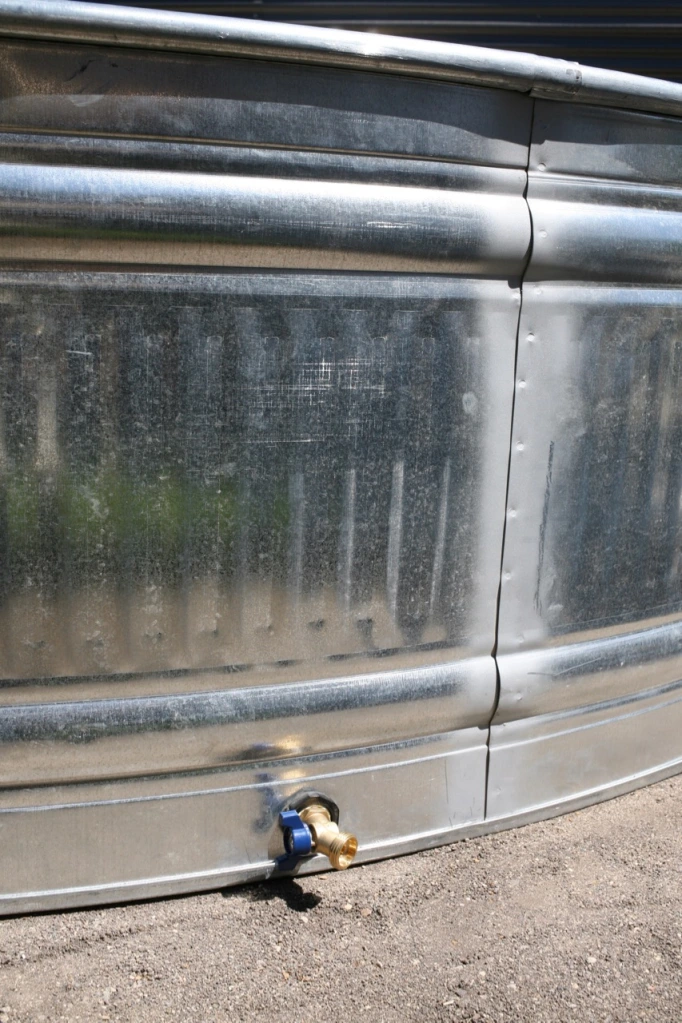
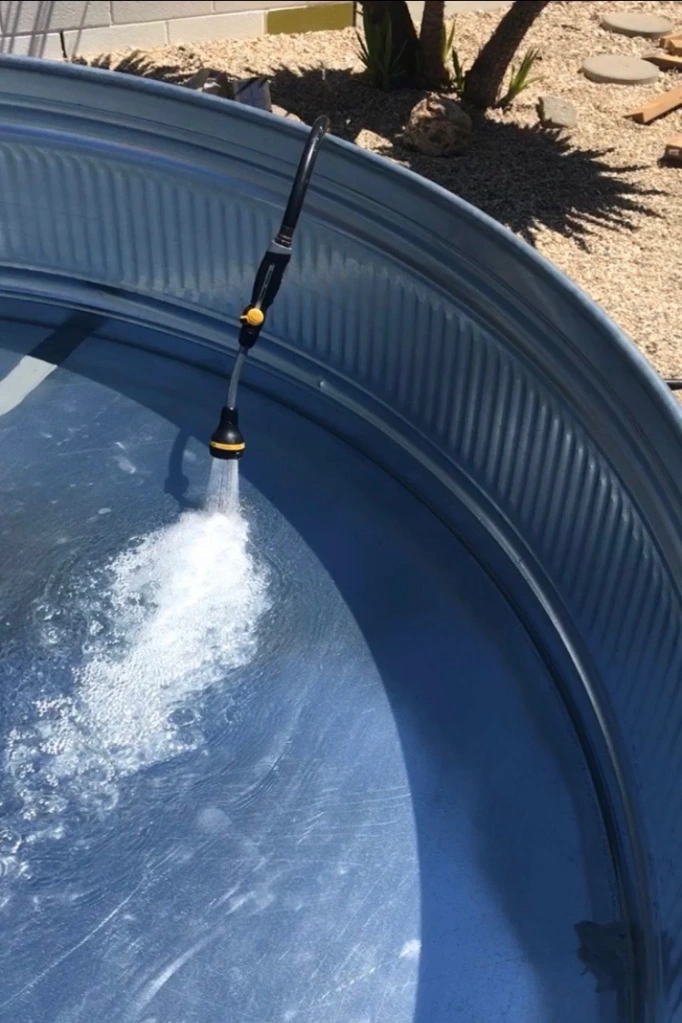
- Check for leaks. Fill with 1″ of water and check that all seams are watertight.
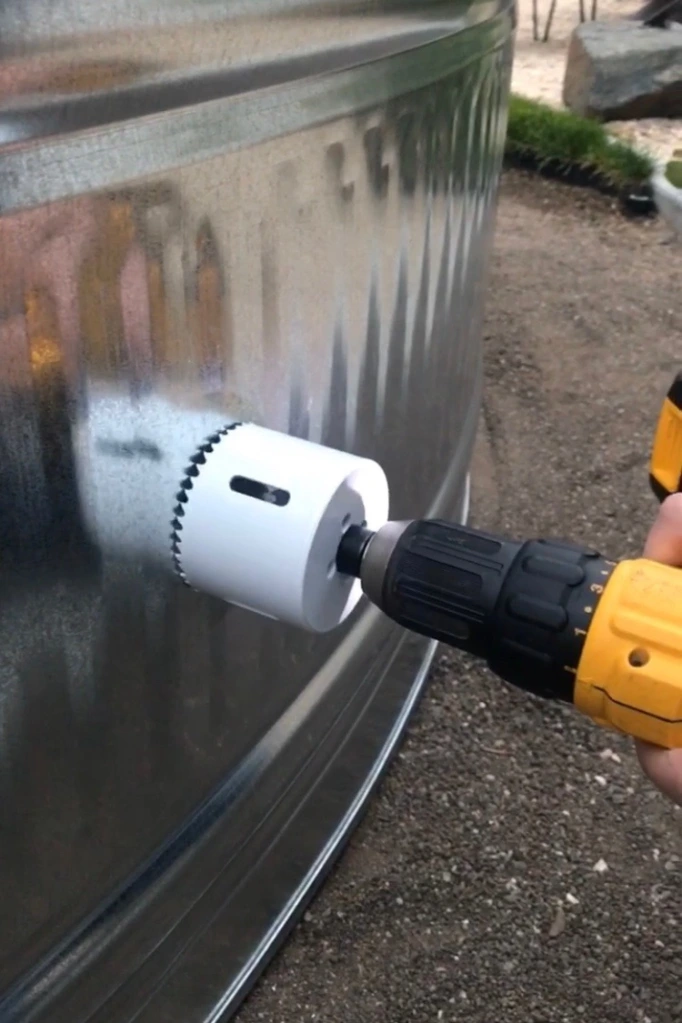
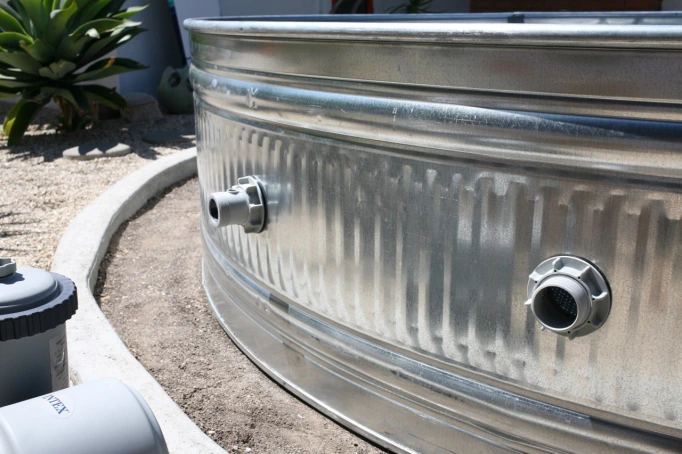
- Drill holes. Using a 2 3/4″ hole saw firmly push through the metal to cut out holes for pump connections. (And vacuum the metal shards out of the pool.)
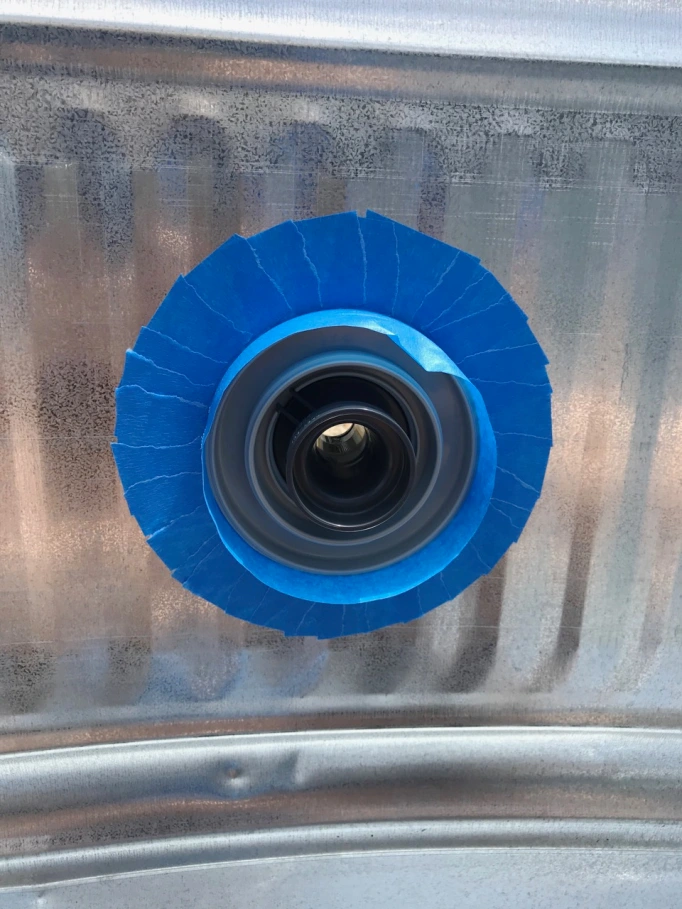
- Attach the inlet/outlet fittings with sealant or caulk. It’s best to tape the area off to avoid a mess. Don’t use too much or it will ooze everywhere. FYI we put sealant on the inside wall and the rubber gaskets on the outside wall and struggled to keep them in gaskets in place as we tightened. They were fine during a dry fits, but twisted when sealant was involved. I blame the corrugation. Patience and pushing them back into place got it done and everything is water tight.
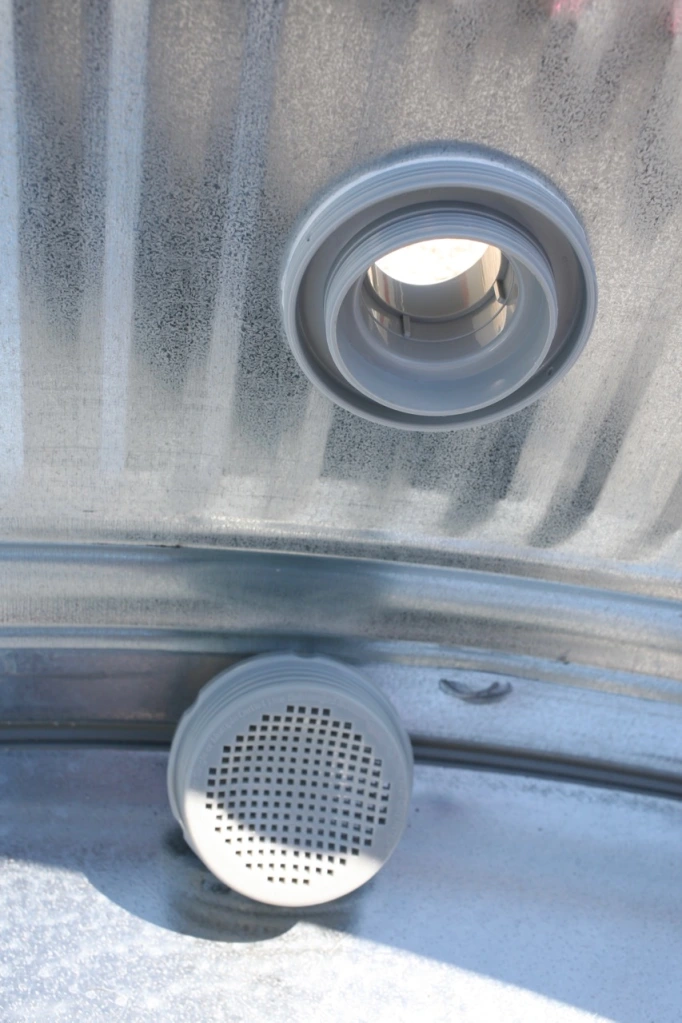

- Let dry. 24 hours to be safe.
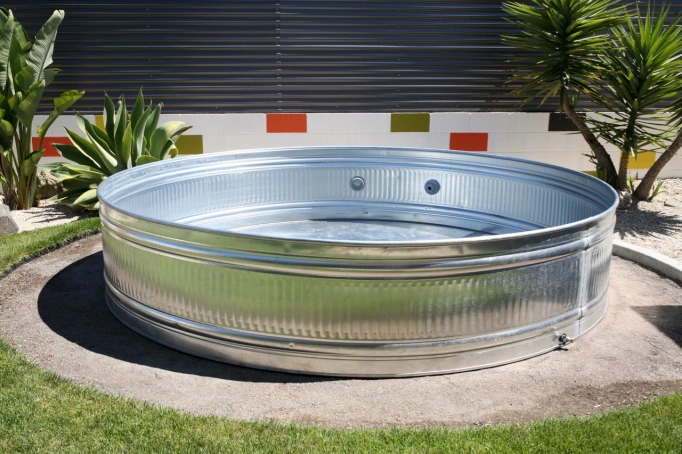
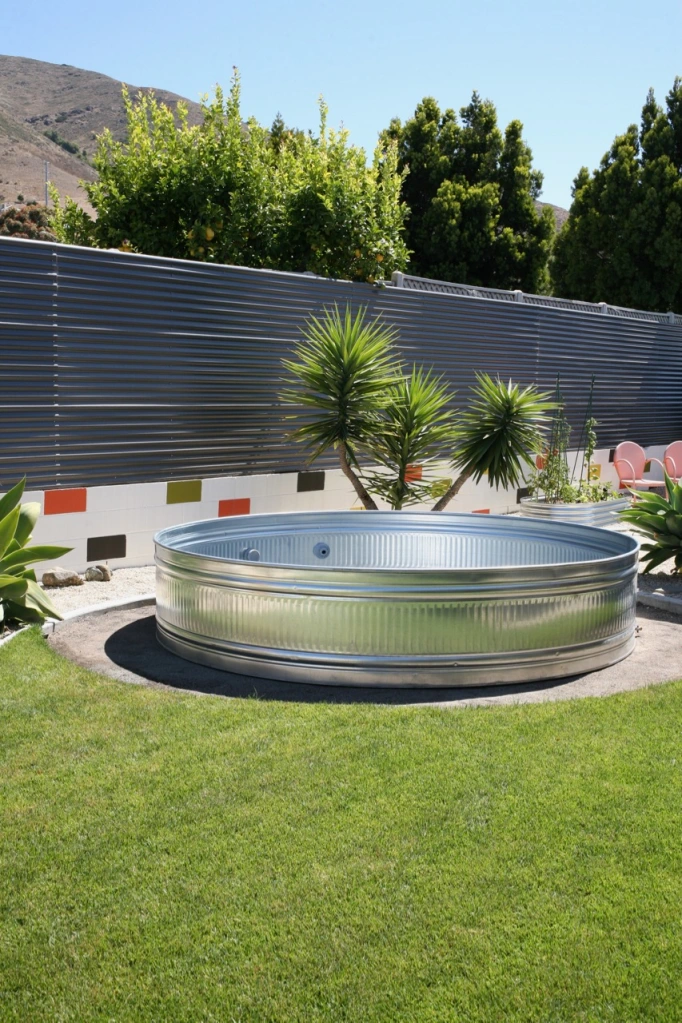
- Check for leaks again. Spray the area with a hose to make sure connections are water tight.
- Connect the plunger valves, hoses, and pump according to the pump instructions.
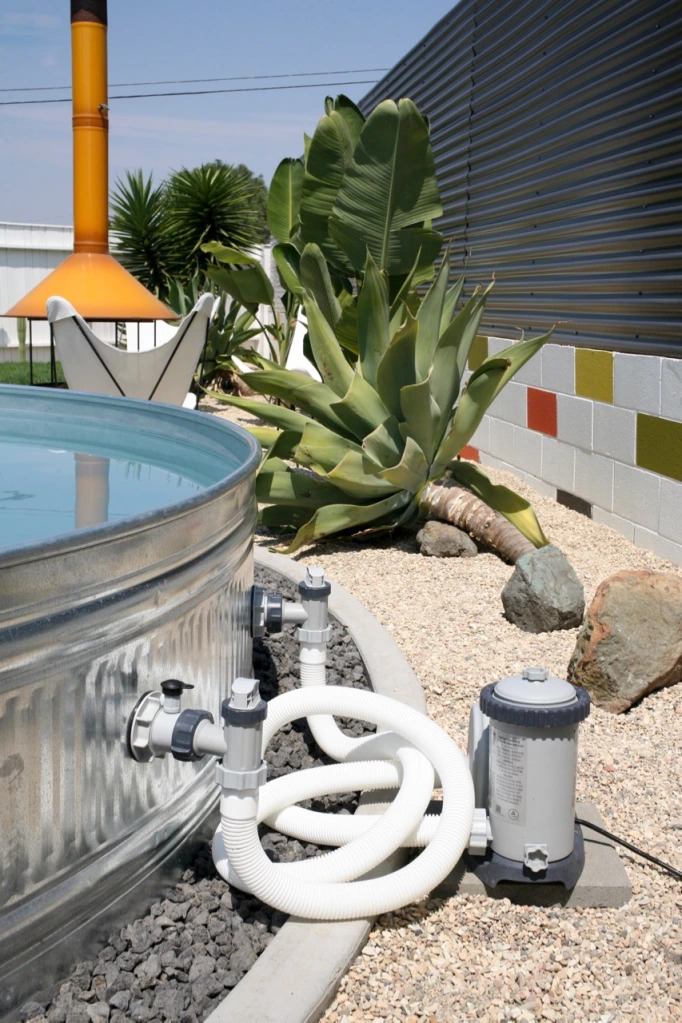
- Fill with water.
- Turn on pump and set to run daily according to instructions.
- Add chlorine float and begin chemical maintenance, see below.
MAINTENANCE:
From what I could gather, a smaller pool doesn’t require much maintenance or chemicals and so far I’ve found that to be true. I was intimidated but it’s been quite easy. Basically, keep chlorine tabs in a float at all times, skim off debris when you need to, hose off your pump filter weekly, and you are good.
Daily:
- Run the pump 2-4 hours daily (ours has an automatic timer so we run it for 2 hours each morning, 4 if we are using it a lot).
- Remove debris from the water with a skimmer net.
Every few days:
- Test the water and adjust chemicals as needed. So far, this has consisted of opening or closing the vents of the chlorine float depending on our chlorine levels, which should be between 1.0 – 3.0 ppm. Heavy use and heat seem to lower our chlorine levels, so I open our float to 3-4 vents on busy, hot days. Otherwise, 2 vent holes is good. It’s possible that you may need to add PH up or PH down chemicals if indicated on your test strips, because if the water’s PH is off, chlorine can’t properly be utilized. But so far so good for us.
Weekly:
- Replace chlorine tablets in float as soon as the last one is nearly fully dissolved, usually every week. We are using one 3″ tablet per week or every other week with our float on the lowest opening. The amount of chlorine you need will vary over seasons and use. More heat and more swimmers increase chlorine usage. 2021 UPDATE: We kept our pool filled over the winter and only needed to add a new tablet every 3-4 weeks during our cool, rainy season.
- Rinse off the pump filter as needed with a hose. For us, this is every few days when we are living in the pool haha (or if ash from fires is pouring in…love you CA), but weekly with more normal use, or monthly over the winter with zero use.
Every few months:
- Replace the pump filter with a brand new one.
As needed:
- Shock the pool – if the water looks cloudy or green, if algae is growing, if there is a strong chlorine smell, or if you accidentally forget to refill the chlorine float. Some people do this weekly as a preventative measure, some only in a green water emergency, some never (an alternative is to drain and clean and refill your pool if the water gets too funky). I planned to shock our pool regularly and bought some to have on hand, but our water has been really good so far and I don’t want to accelerate rusting of the tank with additional chlorine if we don’t need it…so I have no experience in this department yet. I will caution that it’s best to do this at night because it will be most effective without sunlight, and you’ll want to keep swimmers out for a few hours after. 2021 UPDATE: Still never shocked our pool.
TROUBLESHOOTING:
PATCHING A LARGE HOLE – the local store we ordered through did a mystery patch job on a hole immediately before delivery. So our tank arrived with what I assumed was uncured epoxy…that didn’t “cure” after 4 days. We finally got a hold of someone there (by going in person to the store) to see what they used and it was Ruscoe 12-1 Seam Sealer, a nitrile rubber product the manufacturer recommends for in store repairs that actually never hardens because it’s rubber and not epoxy. It’s not pretty, but it’s watertight. Helpful to know if you need to do a bigger repair!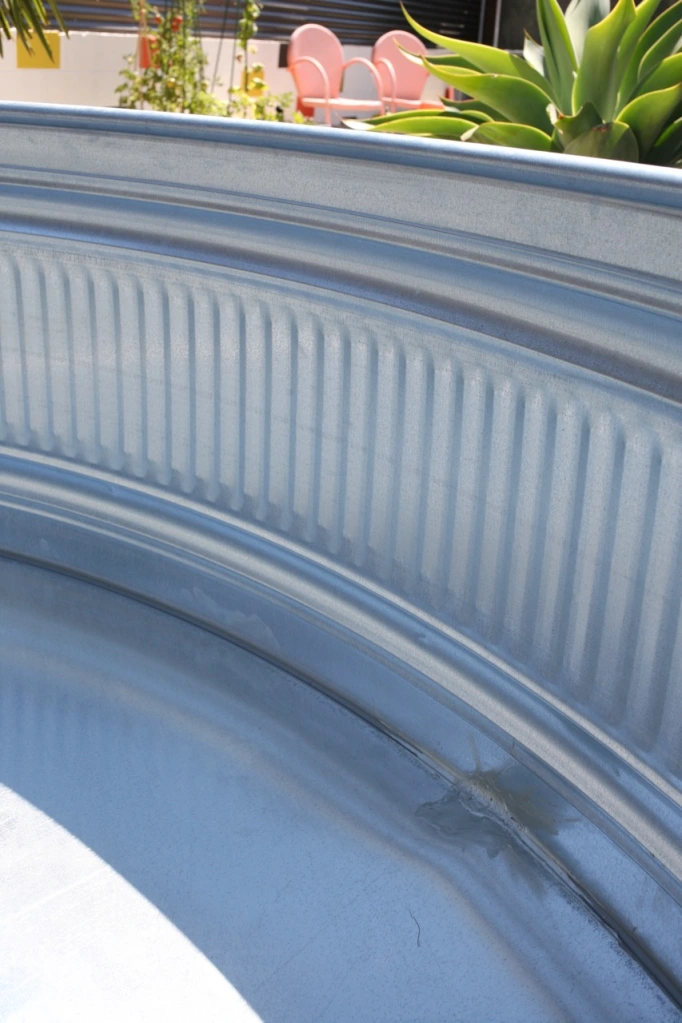
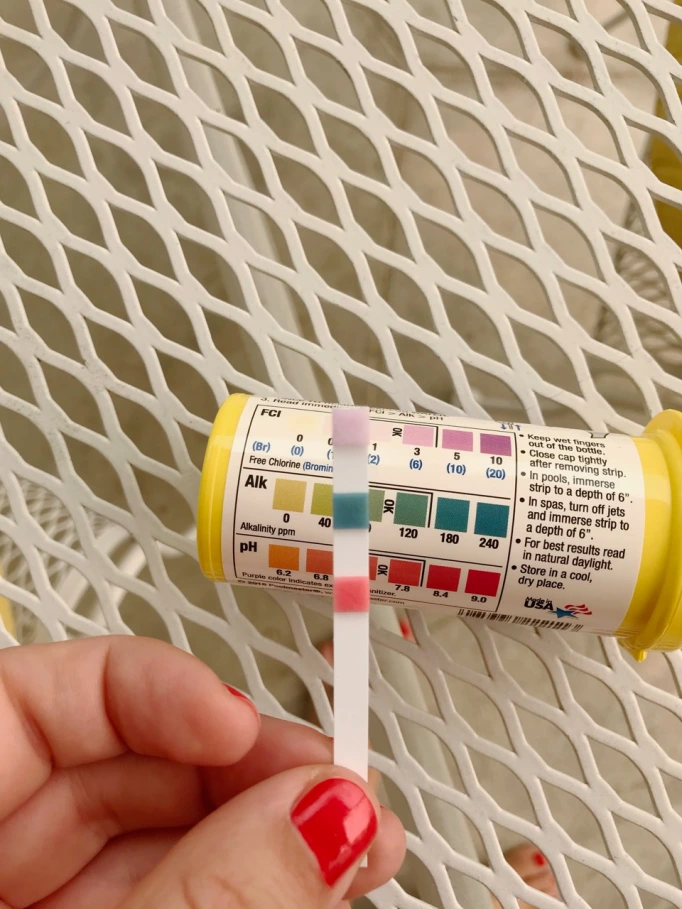
LEAKY PLUNGER VALVES – after hooking up the pump our plunger valves had a slow drip leak, and I think this is a common problem. The likely issue is that the washer/gasket is moving out of place when you are screwing the top on. Making sure they stayed in place solved the problem. (And, use a towel stuffed in a plastic bagged to plug up any hole you need to work on without draining the water!)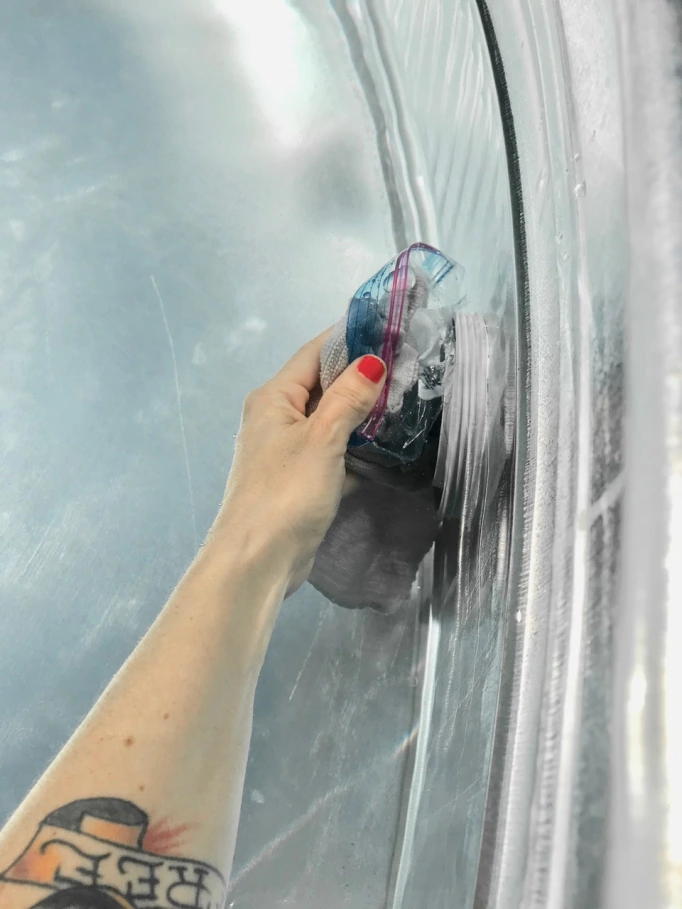 WATER TOO ALKALINE – Our water tested slightly too alkaline in the beginning. Instead of adding corrective chemistry, I used the internet’s claim that alkaline levels will naturally fall over time. After 2 weeks, our levels had reached the ideal range and we’ve had no issues.
 AUTOMATIC PUMP TIMER DOESN’T TURN OFF – We’ve found that our pump, although set to run only 2 hours, goes 15-20 minutes longer than 2 hours and then automatically shuts off. Same with 4 hours.
EVAPORATION – No solution for this other than a pool cover, which we aren’t using. Just wanted to mention that, especially with hot days (and splashy kids), that water level will dip quicker than you think and will need to be refilled.
HOT METAL – Not something that needs to be troubleshot because it’s not an issue once you fill with water! I see this as a common concern people have but the metal will NOT be hot if there is water in it. We’ve had a heat wave with 100 degree days and the metal stayed cool and so did the water inside!
TO PAINT OR NOT TO PAINT:
While there are many adorable painted stock tanks on Pinterest, a deeper dive will find that most painted ones have problems, and I haven’t found one example of a pool with a painted or sealed interior that went well. We have decided, at least for now, to stick with the raw metal both inside and out. But that aesthetic really works with our yard, so I understand the temptation to paint if galvanized corrugated metal looks dumpy in your space. If you do decided to paint, ONLY PAINT THE OUTSIDE and expect to repaint yearly. We’re hoping to get several non rusty years out of this thing but might go with a fabric liner like this if things get bad.
LANDSCAPING:
Most of our backyard landscaping was already in place (see more here). We finished off the area around the pool with a mix of round pavers (these ones from Home Depot – our local store sometimes sells them individually) and black lava rock over landscape fabric. The big lava rock is not at all ideal to walk on, but I think it’s so perfect for our 60’s motel vibe yard haha, and a welcome contrast to the sea of small sand-colored rocks that are everywhere else.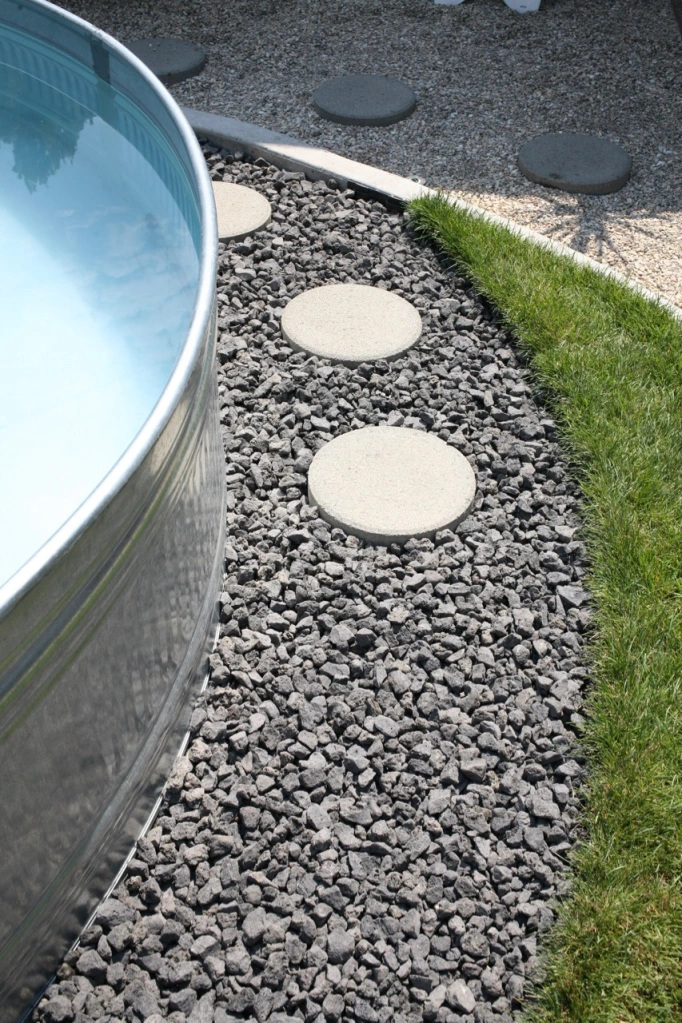
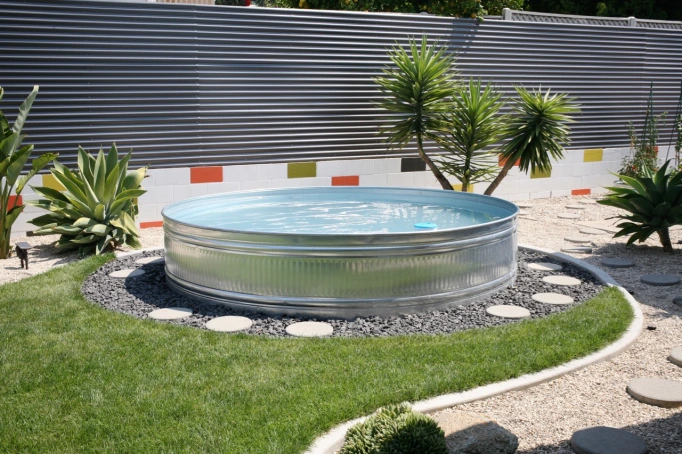
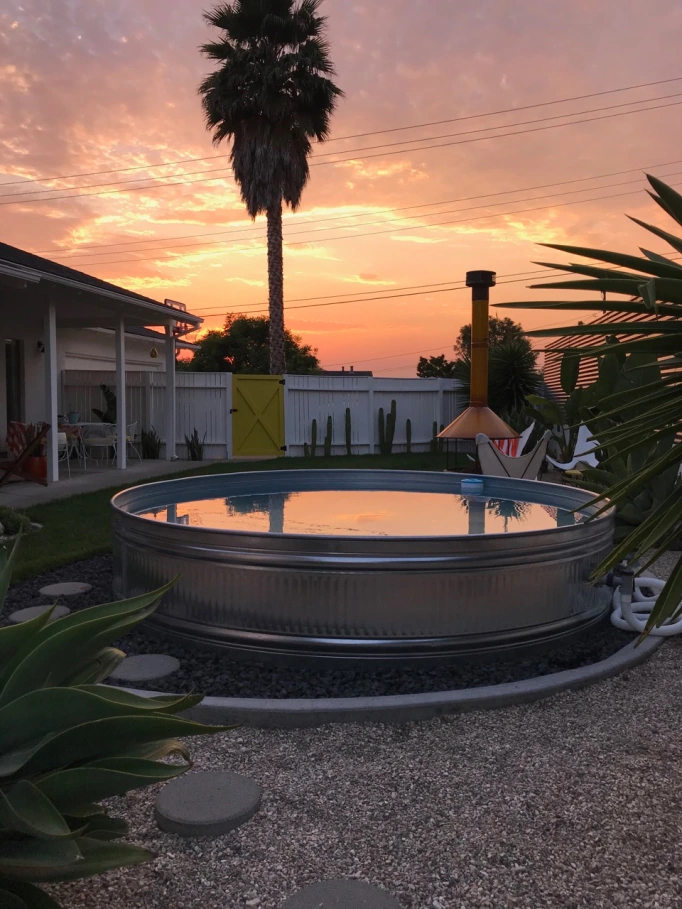 So that’s it! Being able to float in the sun and watch water reflections on my desert plants is all I’ve ever wanted. Our hottest months are approaching and we are doing virtual learning through December (at least) and obviously not traveling anytime soon, so I know this will more than pay for itself in the last half of 2020 alone. We will be floating here pretending we are on vacation at a 60’s desert motel instead of a stuck at home freaking out about the world :) But really, it’s my new favorite spot for afternoon rage reading the news.
xoxo Jenny
You have the coolest home!
LikeLike
We’re working on it :) Thank you so much!
LikeLike
Is that a curtain in the background of your picture? I’m looking for mod curtains for my living room and I love your decorating style.
LikeLike
Thank you so much :) Are you talking about on top of the retaining wall? It’s a corrugated material we used as a fence.
LikeLike