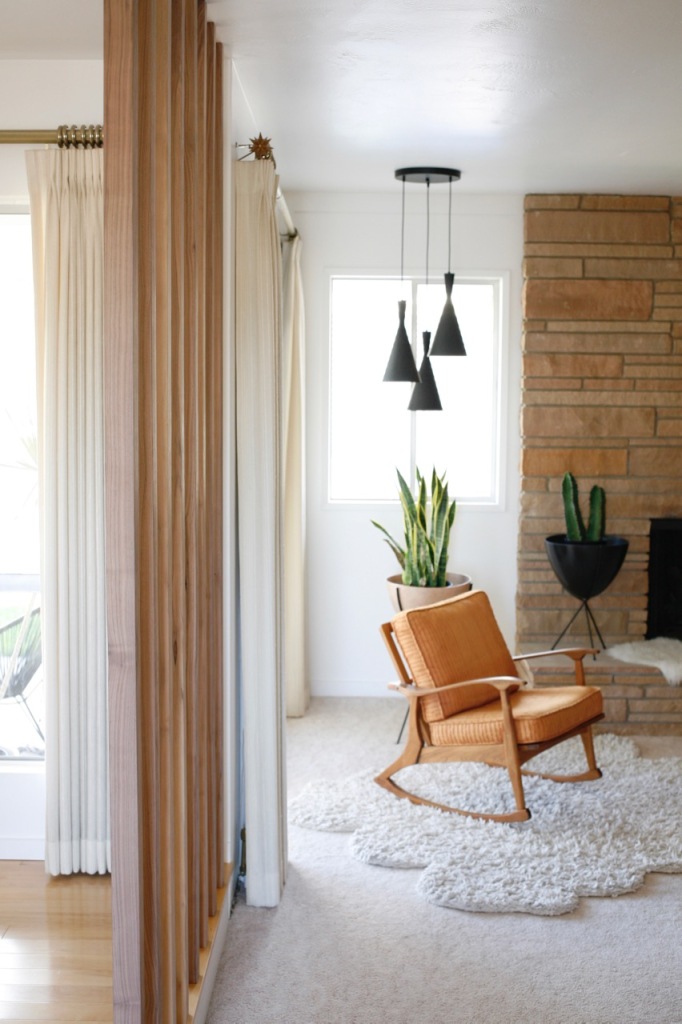
 This has been the #1 project I’ve wanted to do since the day we moved in years ago and IT FINALLY HAPPENED: a walnut room divider between our family and dining room!!!!
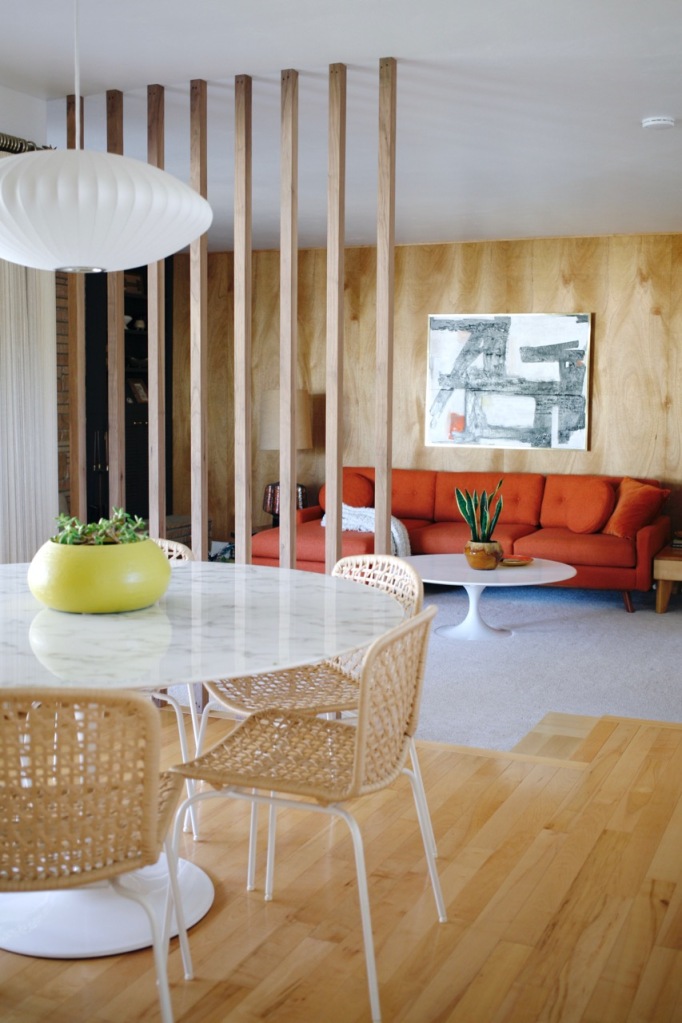
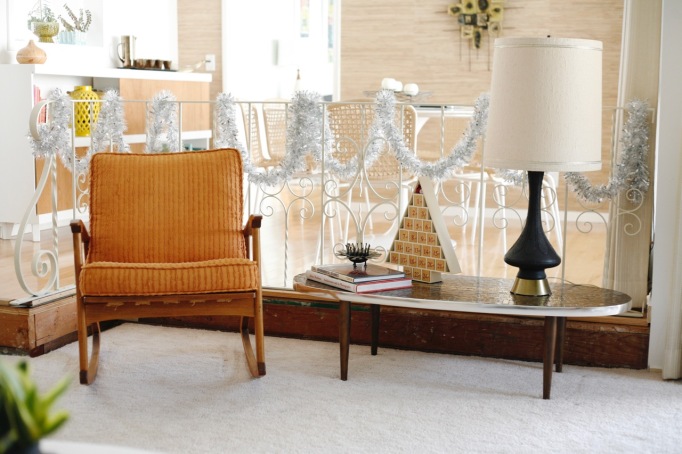
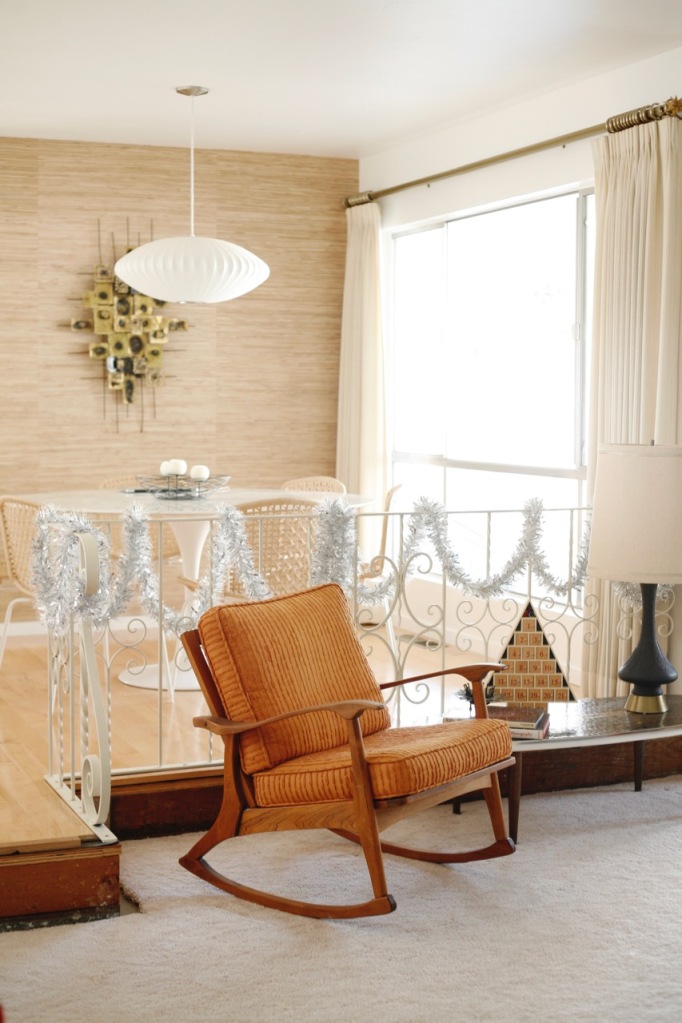
 Where we began: Normally I’m all for preserving original details, but I didn’t love the ornate 60’s iron rail that divided these two rooms. And the step down into our sunken family room had an awkwardly large drop we wanted to fix, so we made a plan to rework the whole area incorporating a wood floor-to-ceiling room divider. After removing carpet and installing wood floors, we lived in a very unfinished state for longer than I care to admit…
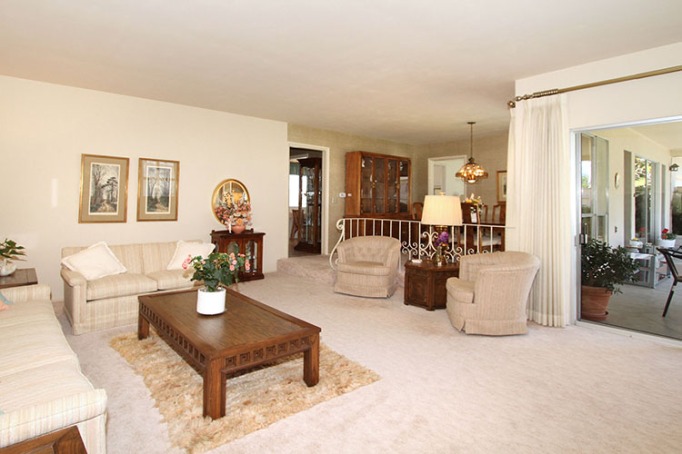

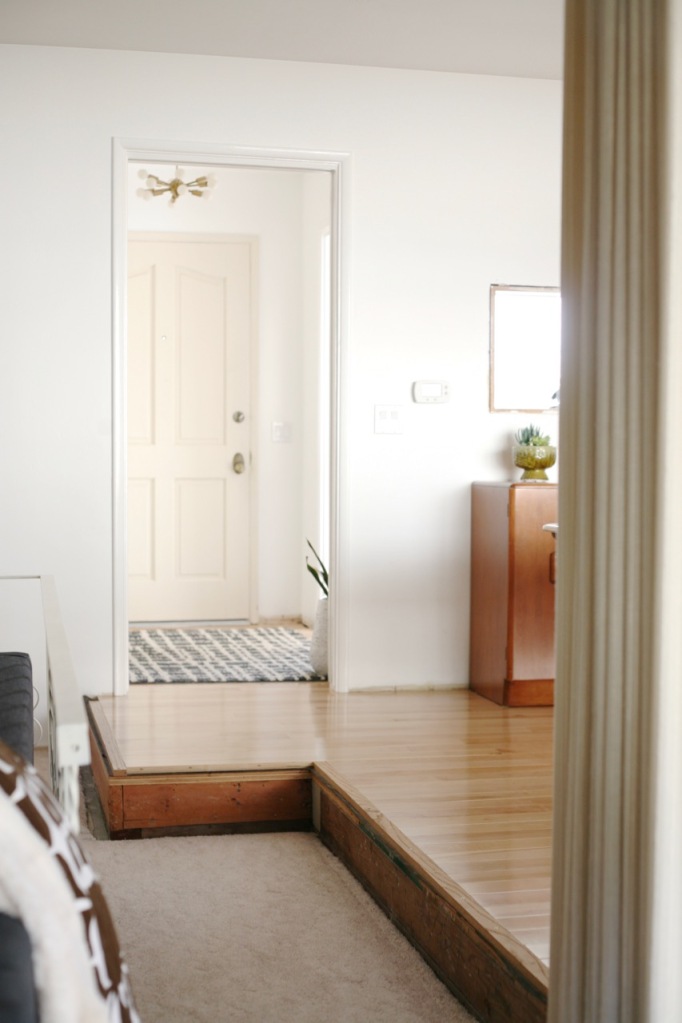
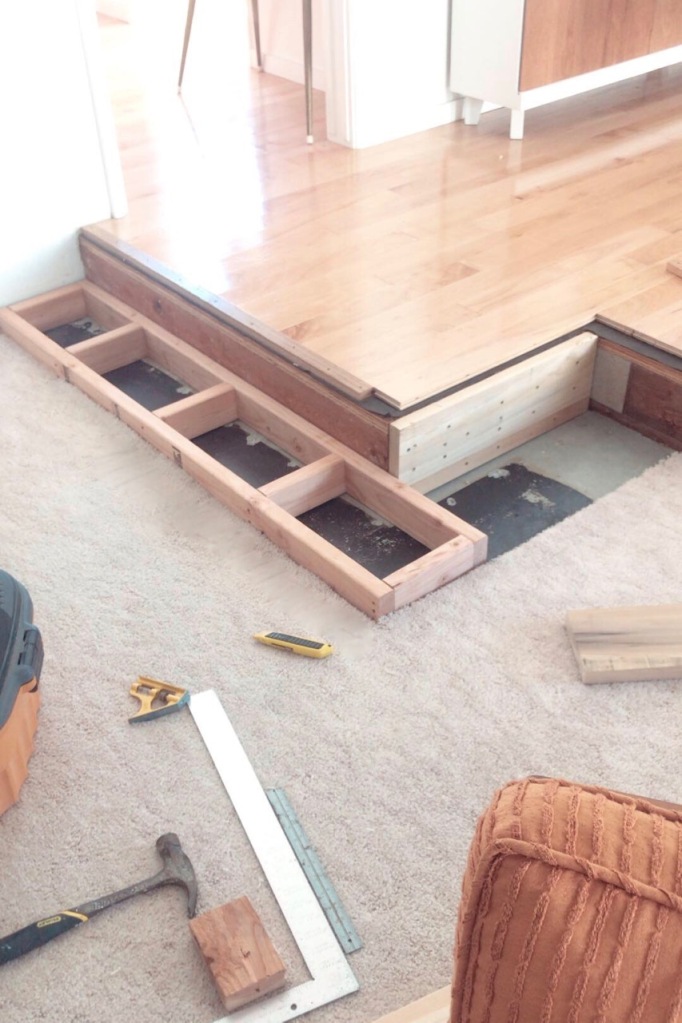
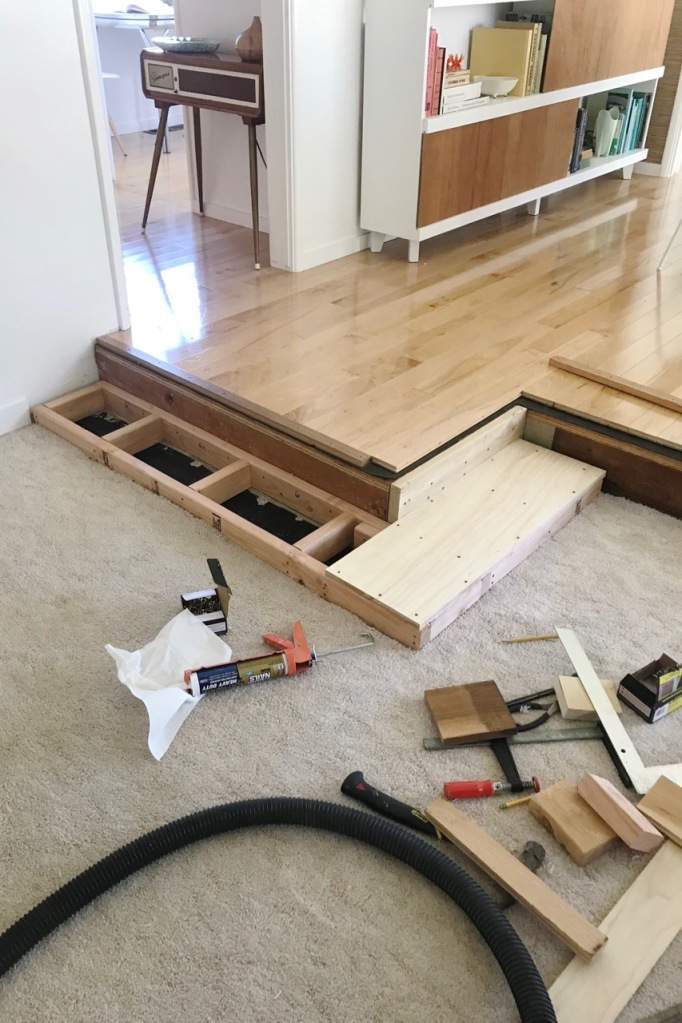
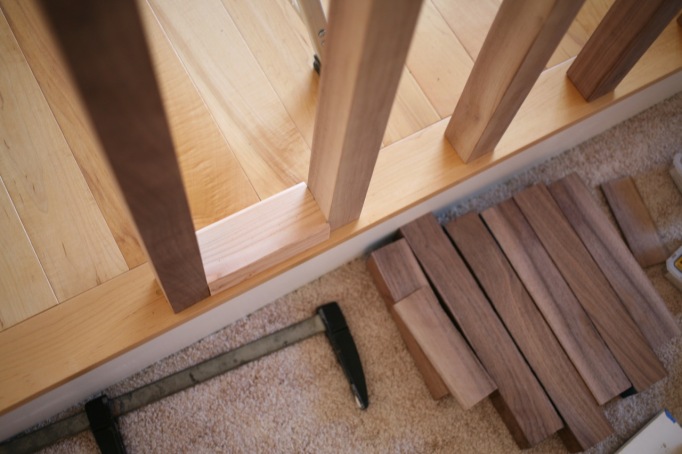
 Step down: For the step down area we decided to add a shallow step to bridge the 8″ drop and make the entrance to the room feel more intentional. Figuring out comfortable stair measurements was a pain but we did it! My husband did an impressive job making a new step and top nose to perfectly match our maple floors.
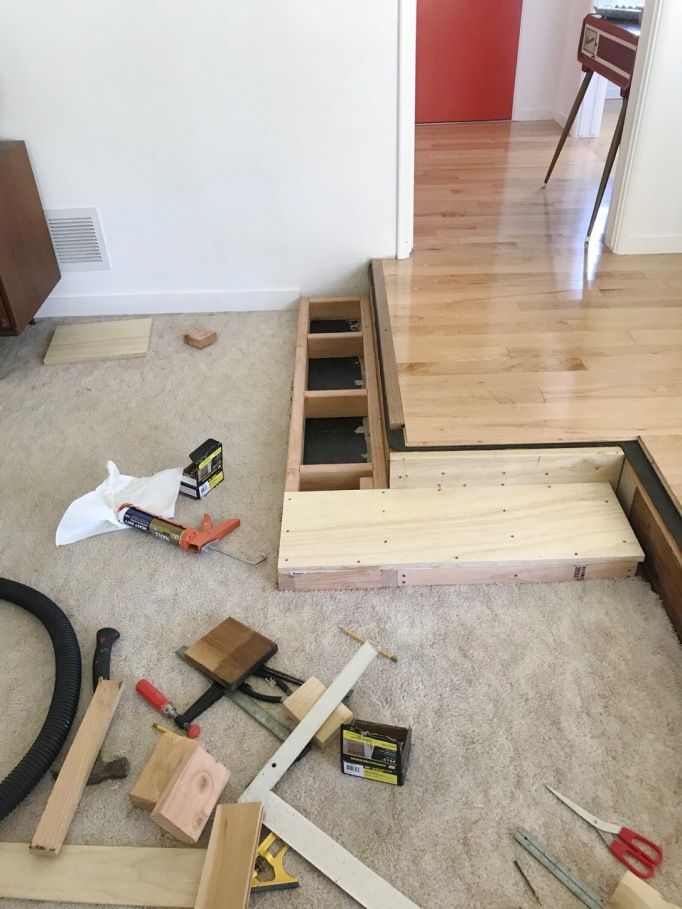
 Risers: We went back and forth on whether the stair risers should be stained wood (and then: maple or walnut?) or painted. You can see I chose painted – and I think I regret it. I began with a deep muddy brown-black to match the built in cabinet next to the fireplace but it looks much better here in photos than it did in person; it was jarring and disjointed to the room so I reluctantly repainted all the risers white to flow with the walls, but it feels so 90’s builder grade to me. I don’t have a better solution right now. Way too late for pretty wood!
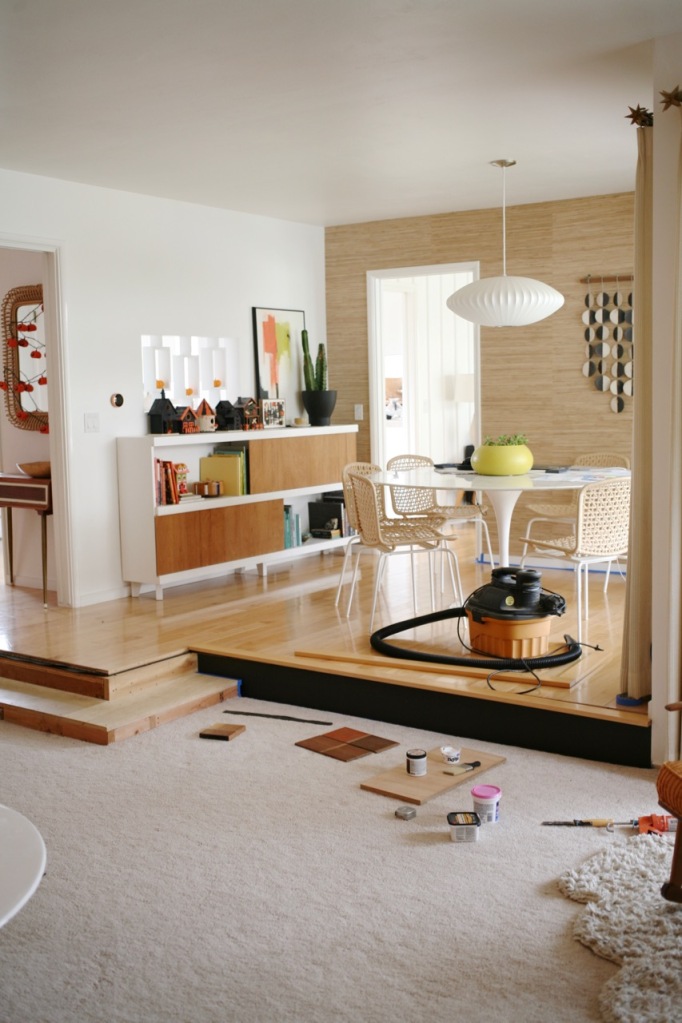
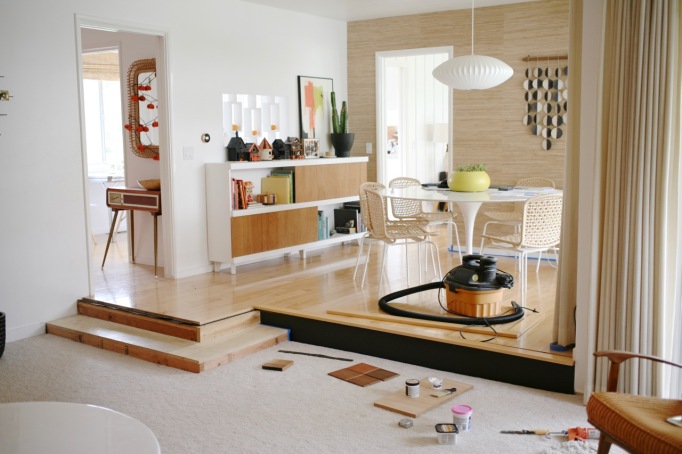
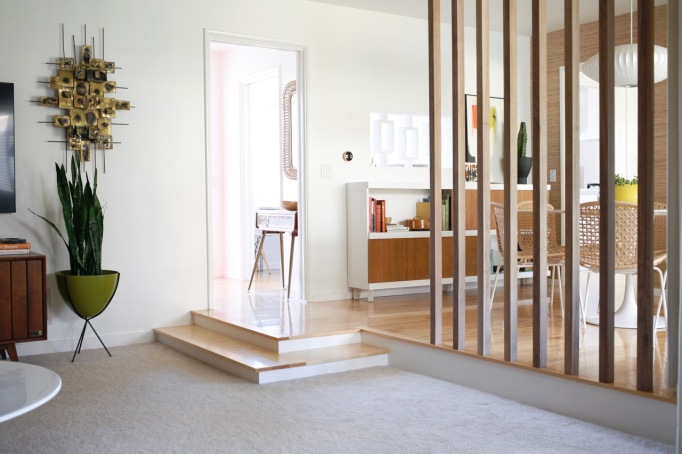
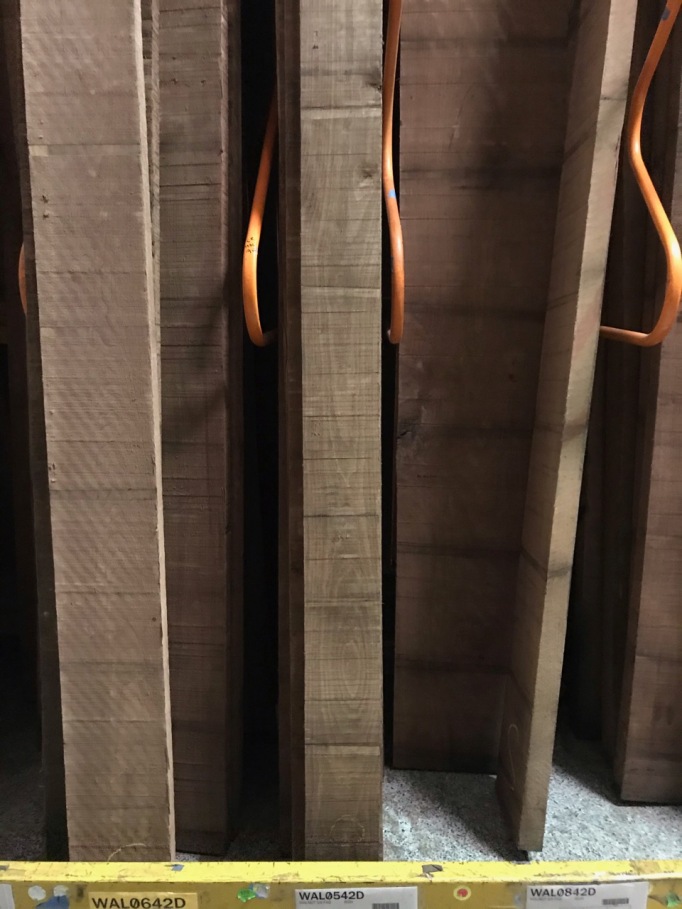
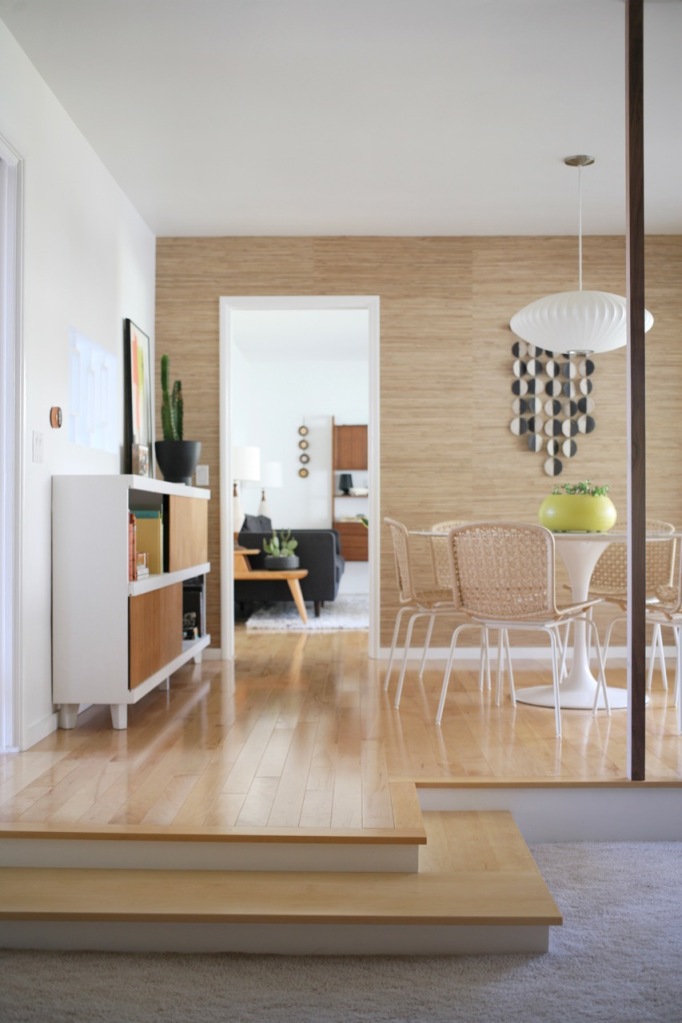 Divider wood: The next step was the actual room divider, which again we had the time to debate for literal years. Walnut or redwood? Simple slats or funky design like the front screens? After we did the wood wall in the family room, the most important element became coordinating well with that wood and the rock on the fireplace. We thought walnut was the best choice, but it’s expensive. To save money we dug through a pallet of 8/4 rough sawn common walnut to find straight boards with minimal knots, which is substantially cheaper but required a lot of cutting and surfacing at home. My husband somehow milled 8 (semi)straight posts from 3 boards using only a table saw. It took days but we only spent $175 on the walnut – a very reasonable price, especially right now!
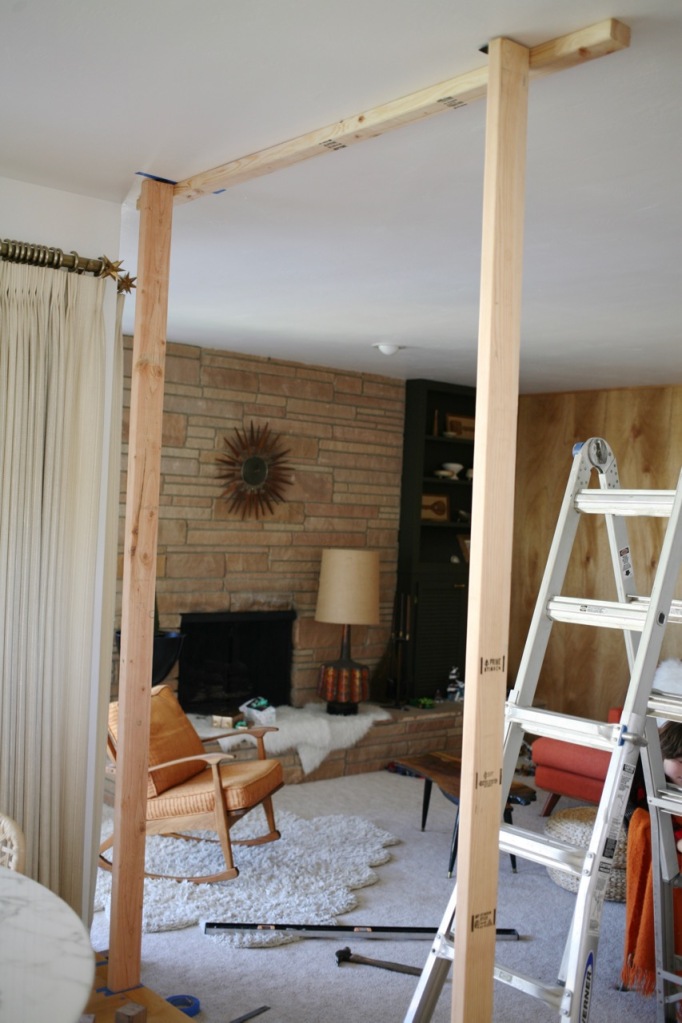
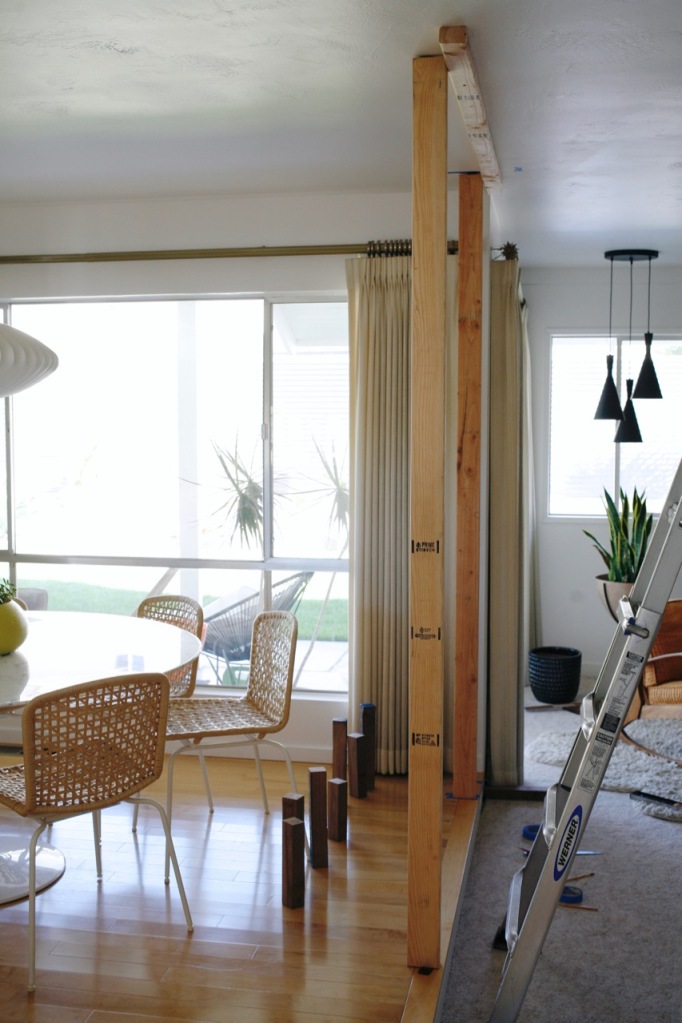
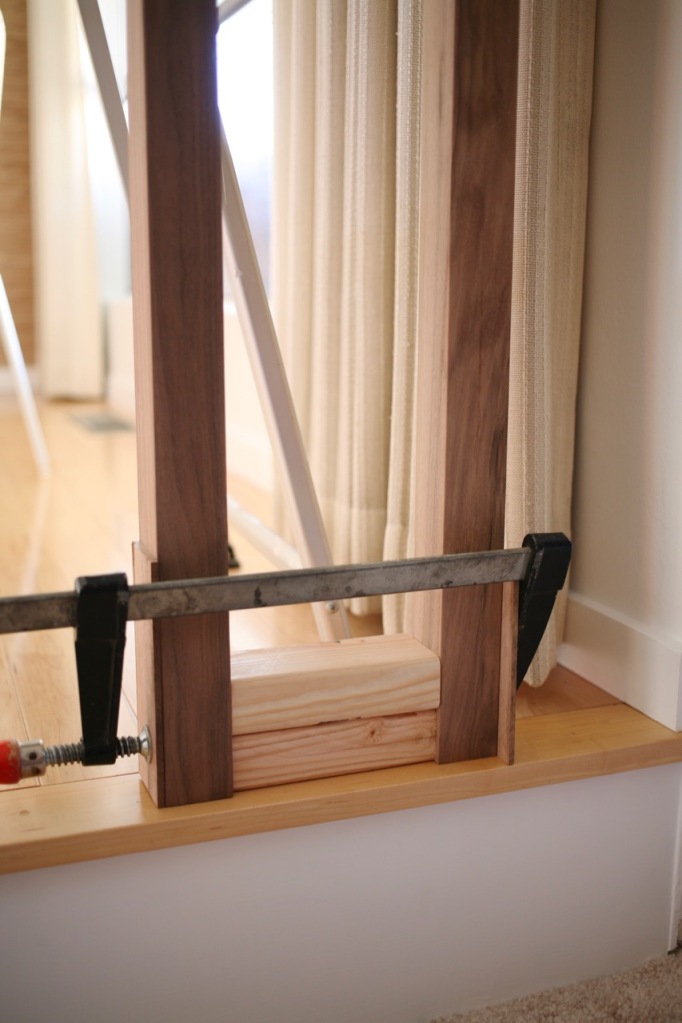
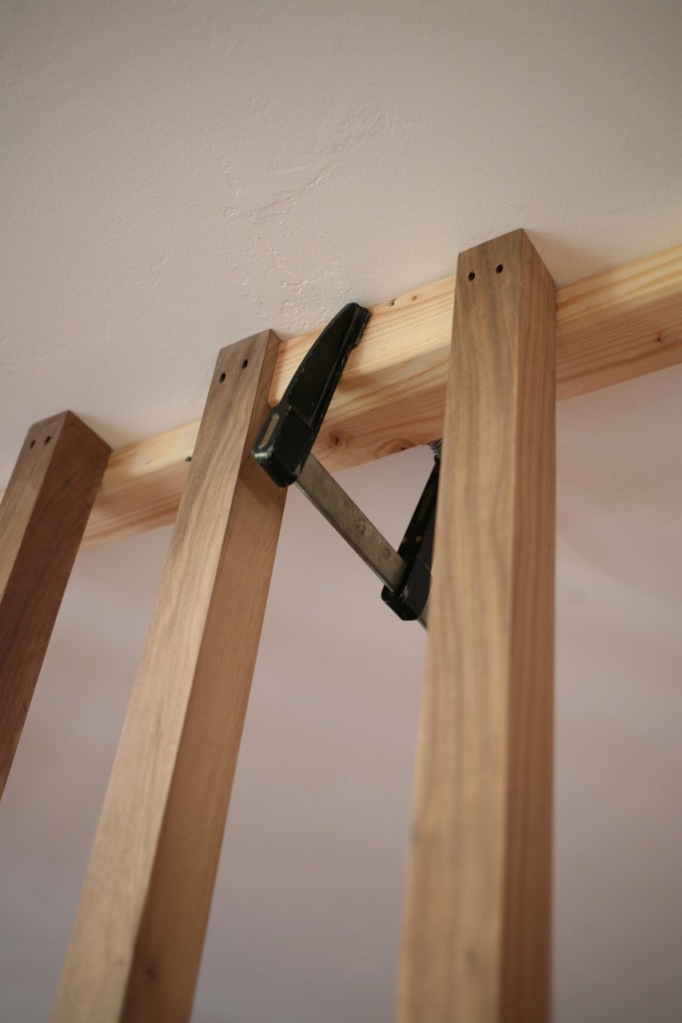
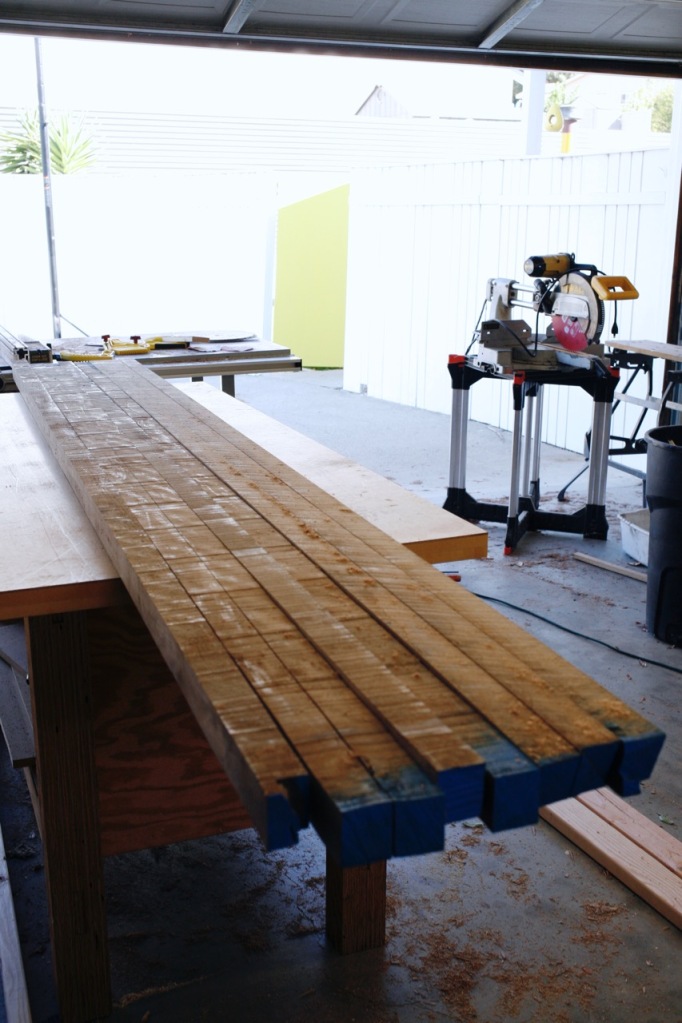 Divider construction: We put up a temporary guide board on the ceiling and used wood spacers and clamps to get the divider slats perfectly placed. The wood is screwed directly into the floor and ceiling with trim screws: we use these 2″ screws for the floors, and these 3 1/8″ screws to reach through the drywall and into the header that was thankfully right where we needed it to be in the ceiling. It is extremely important to drill pilot holes into the wood before screwing them in place! For reference, our walnut slats are 1 3/4″ x 1 7/8″ and are spaced 5 3/4″ apart. So many people have asked if this is sturdy enough to handle a household with rambunctious dogs and children and the answer is yes! While I think Chris Farley could smash his way through the divider if he wanted to, these are surprisingly strong with very little flex. I doubt any normal kid/pet rough housing could budge them.
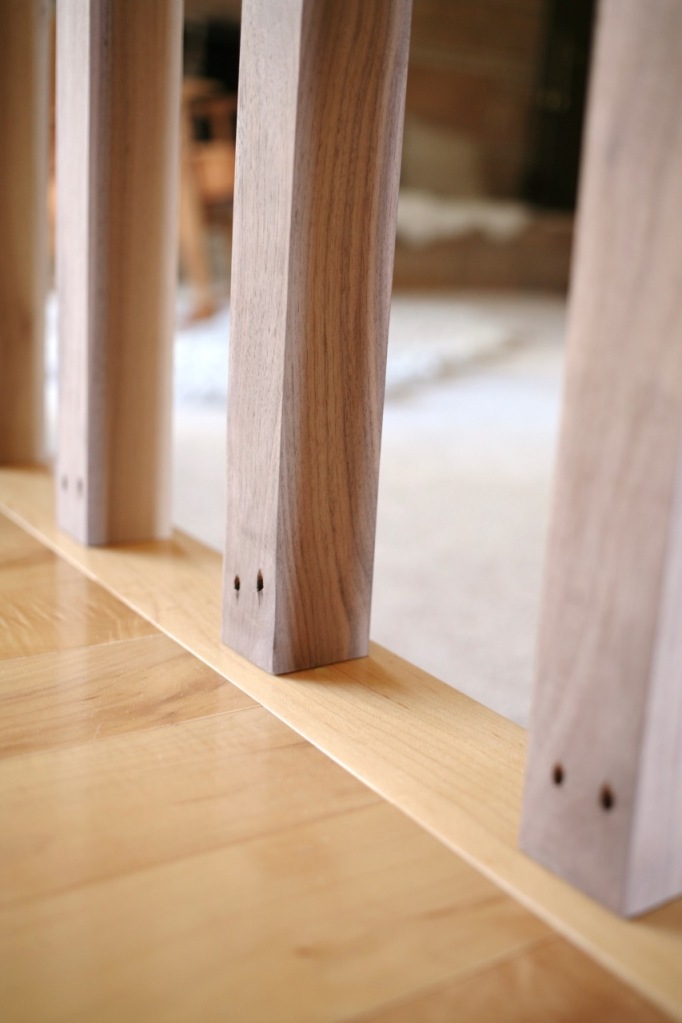
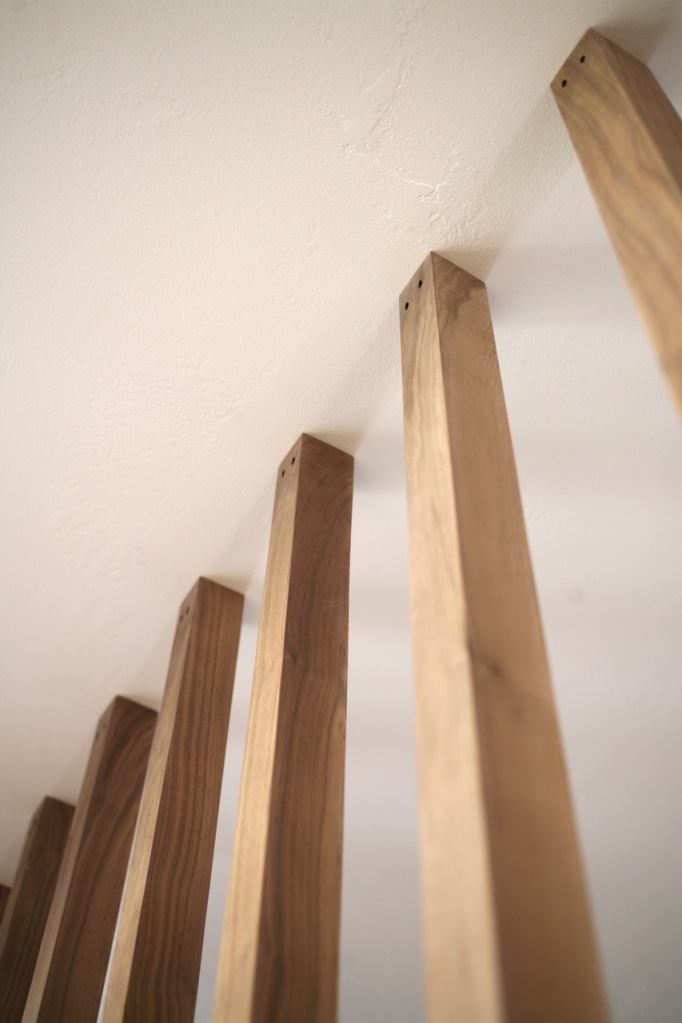 Keeping the walnut raw: I was planning on putting a coat of Watco on the walnut but I love the natural color and warmth so much that we’re living with it raw for now. Walnut is one of those woods that lightens and warms with age and UV exposure. It already looks so good with our rock and wood wall, and should only get better with time.
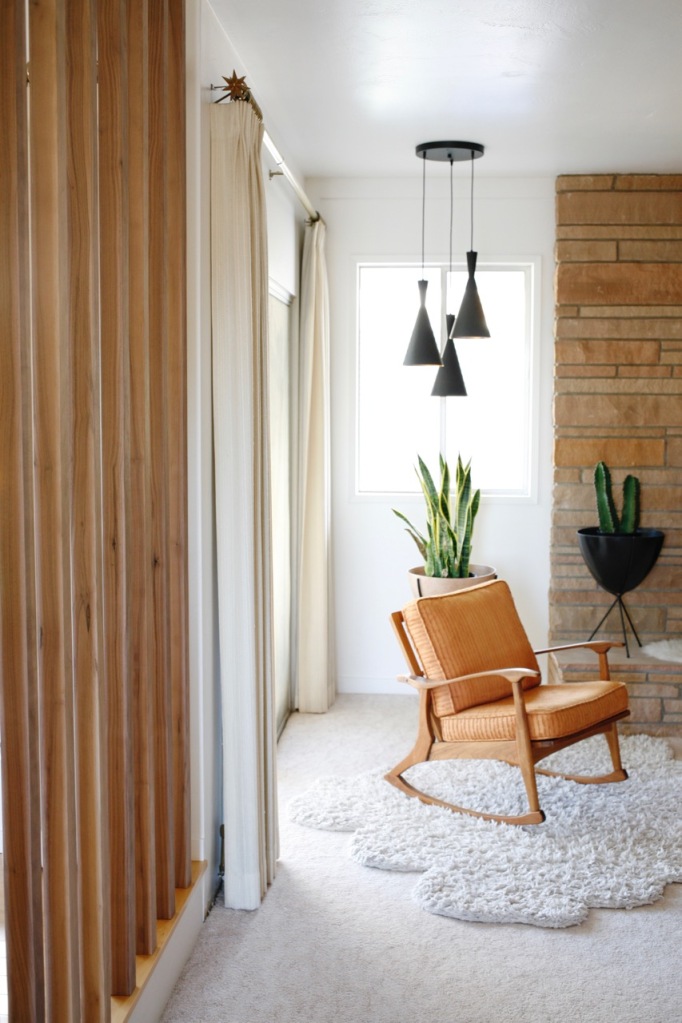
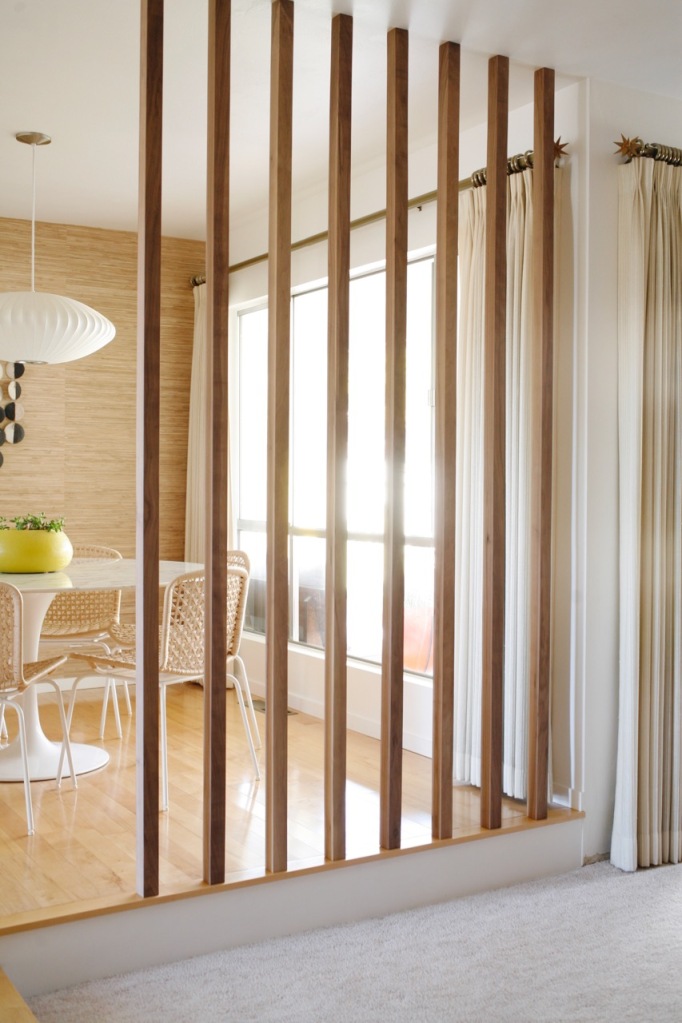

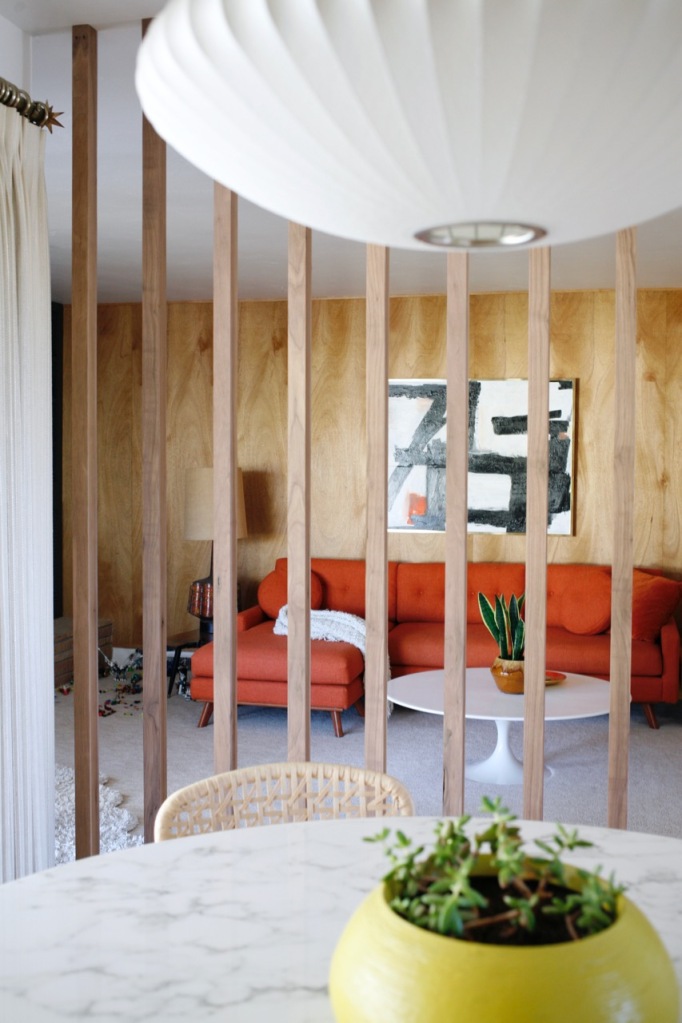
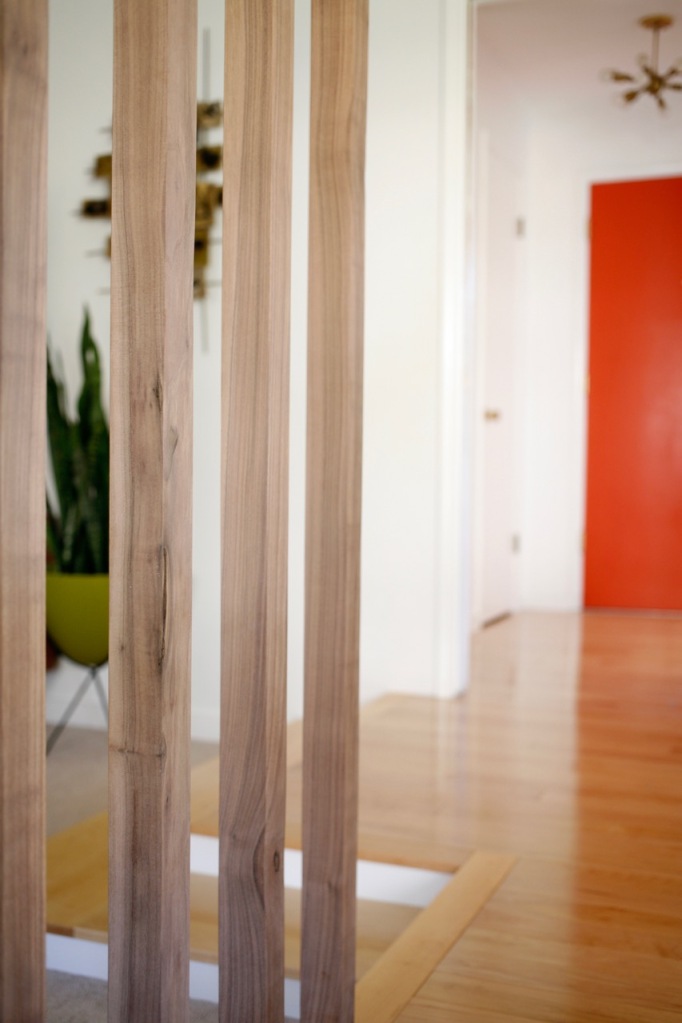
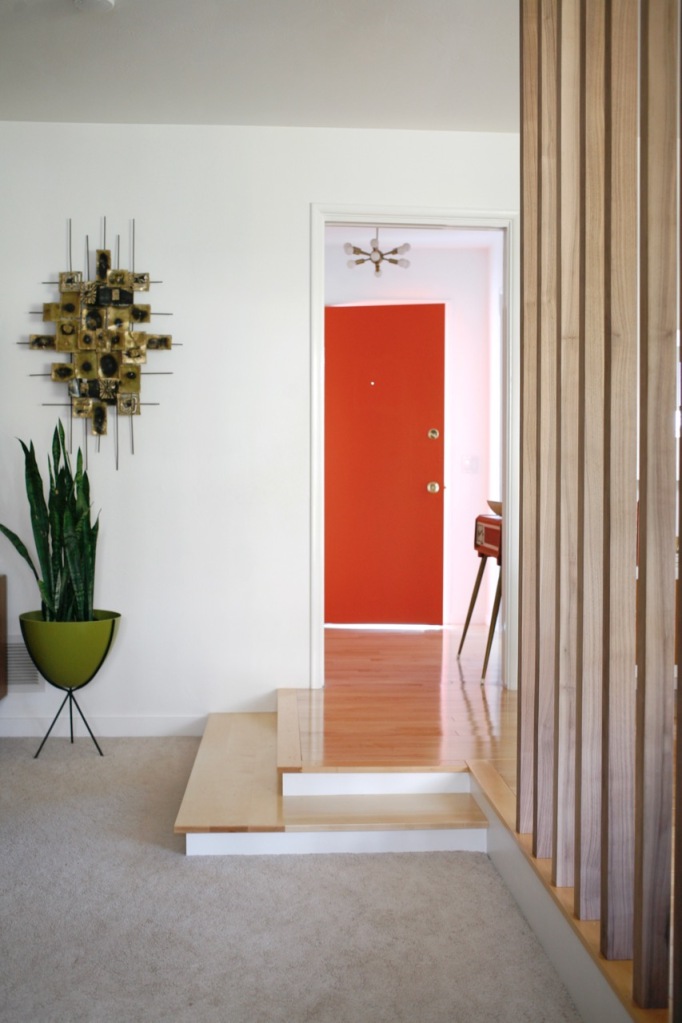


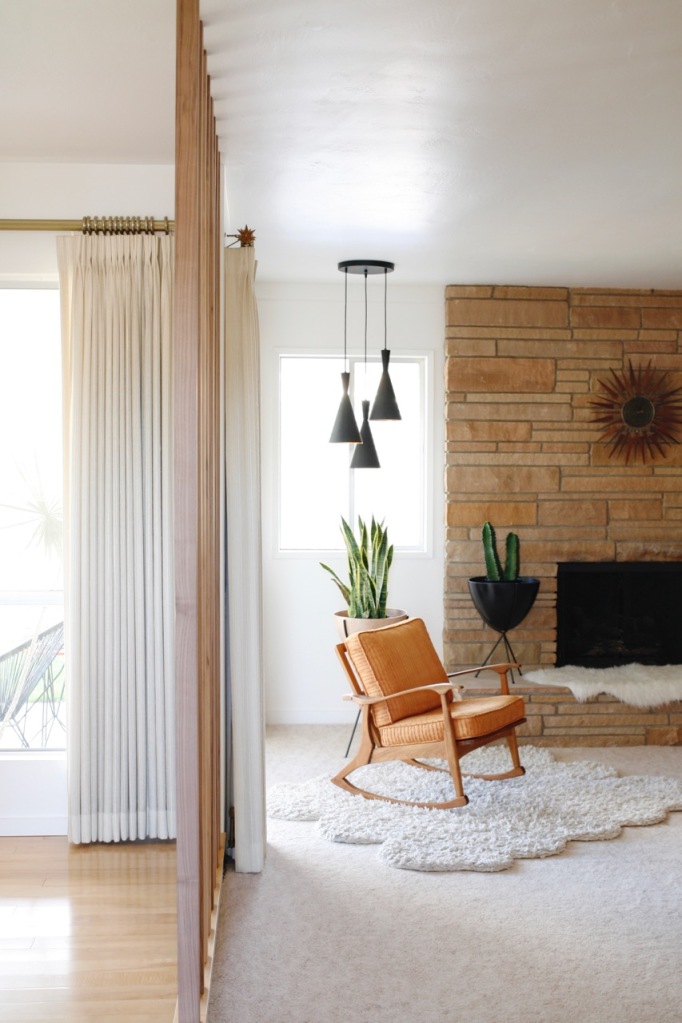
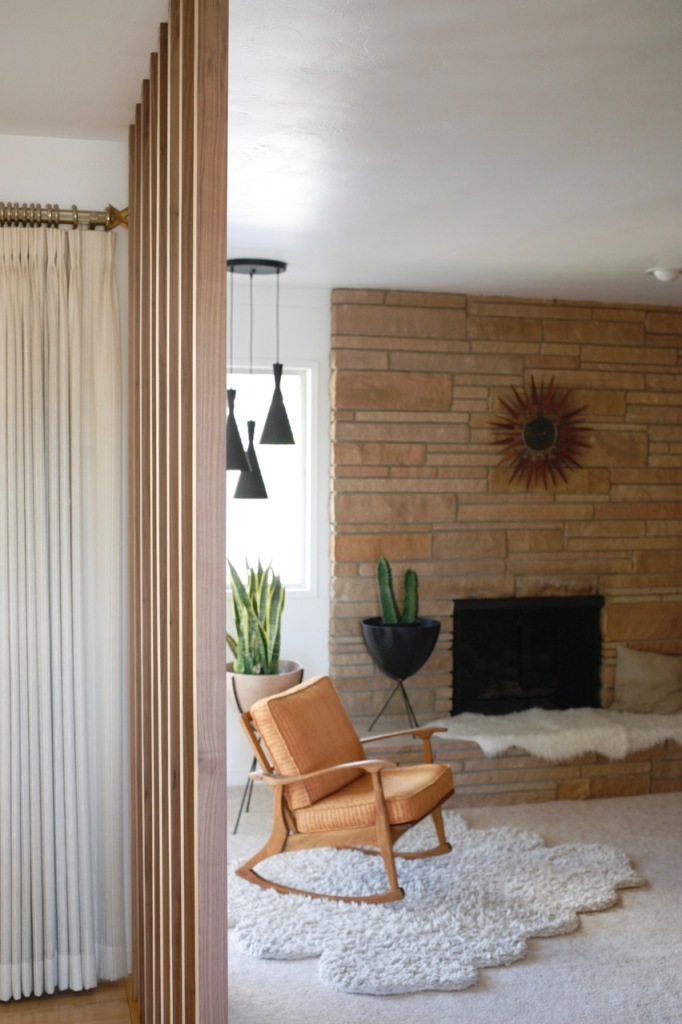
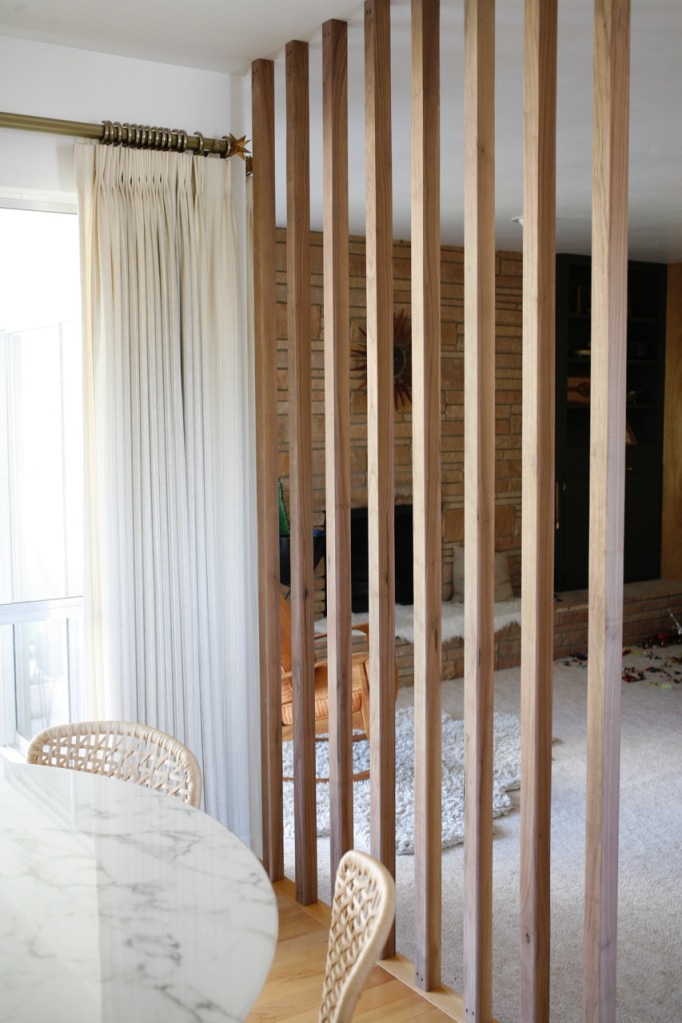
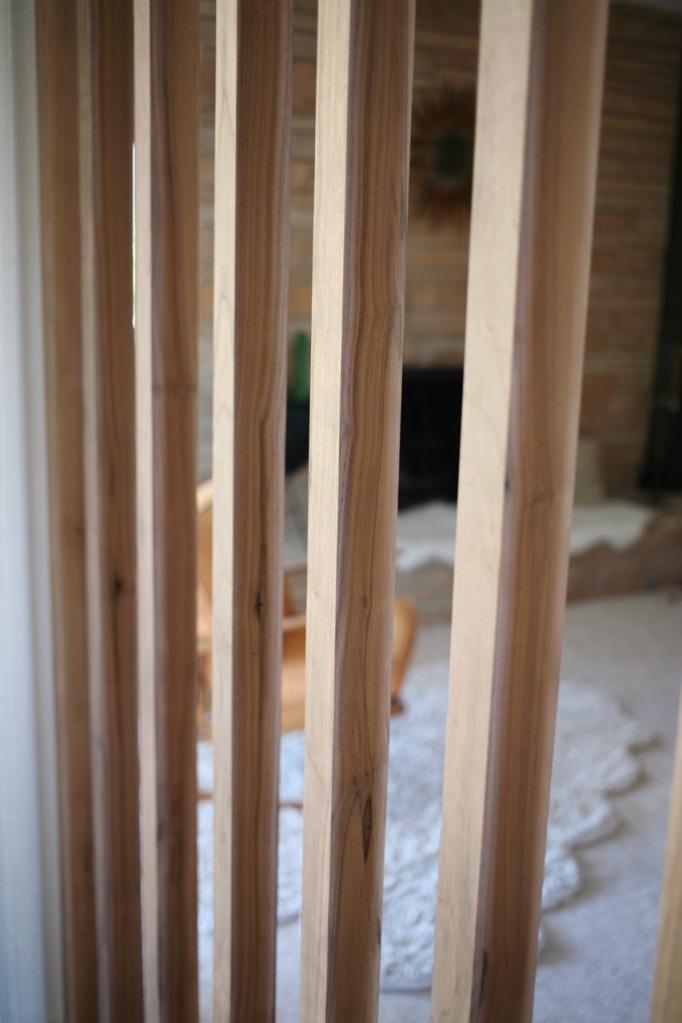 I’m embarrassed to say I’ve hugged the divider on a few occasions because I love it that much. It’s by far my favorite project to date and a house dream come true!!
- Comment
- Reblog
-
Subscribe
Subscribed
Already have a WordPress.com account? Log in now.
Hi Jenny,
I’ve been waiting to see how your wall was constructed. It looks amazing! Good job!!
LikeLike
Thank you!!!
LikeLike
Hi Jenny,
It looks wonderful! Definitely an upgrade from the iron but it’s even better than that because the wall divider looks like it belonged there all along. Your house is hugging you right back!
LikeLike
Thank you so much, that’s the best compliment you could give!!
LikeLike
Absolutely love it! Do you remember about how much it cost to make?
LikeLike
This looks fantastic!! I like the white on the step riser, you choose well. Stairs can be tough and looks great!
We are going to put in a similar wall and I am curious about the screw holes. Did you fill them? Does it blend well with the unfinished wood? If you could share a photo of would be most helpful.
Thank you!!
LikeLike